- NEW
- Elementor Free
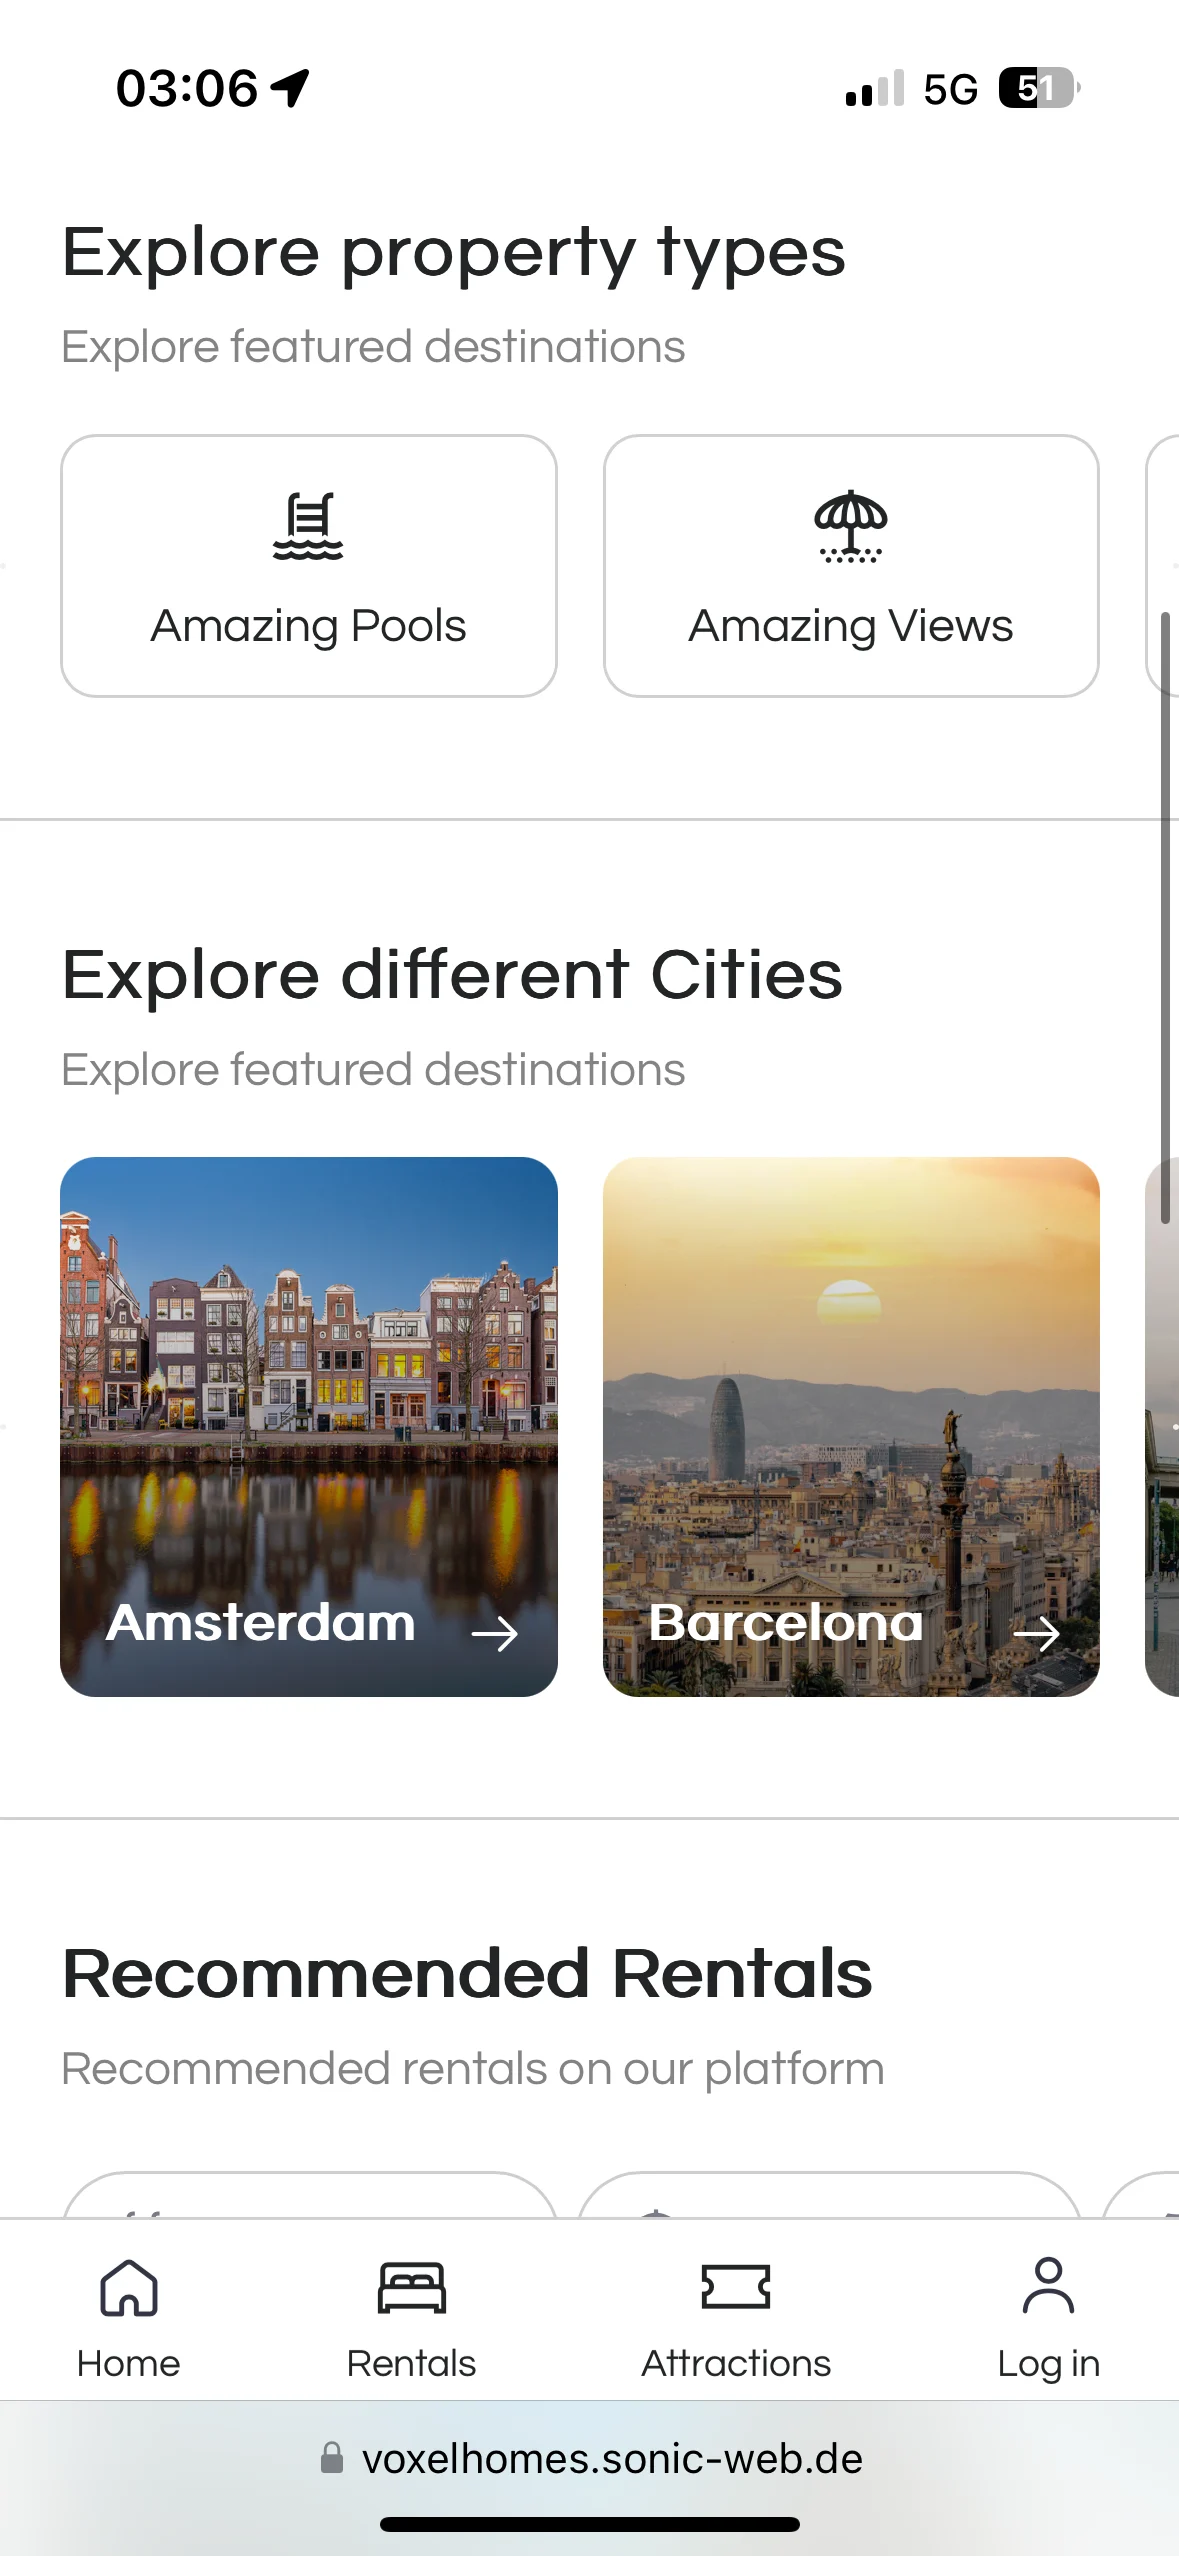
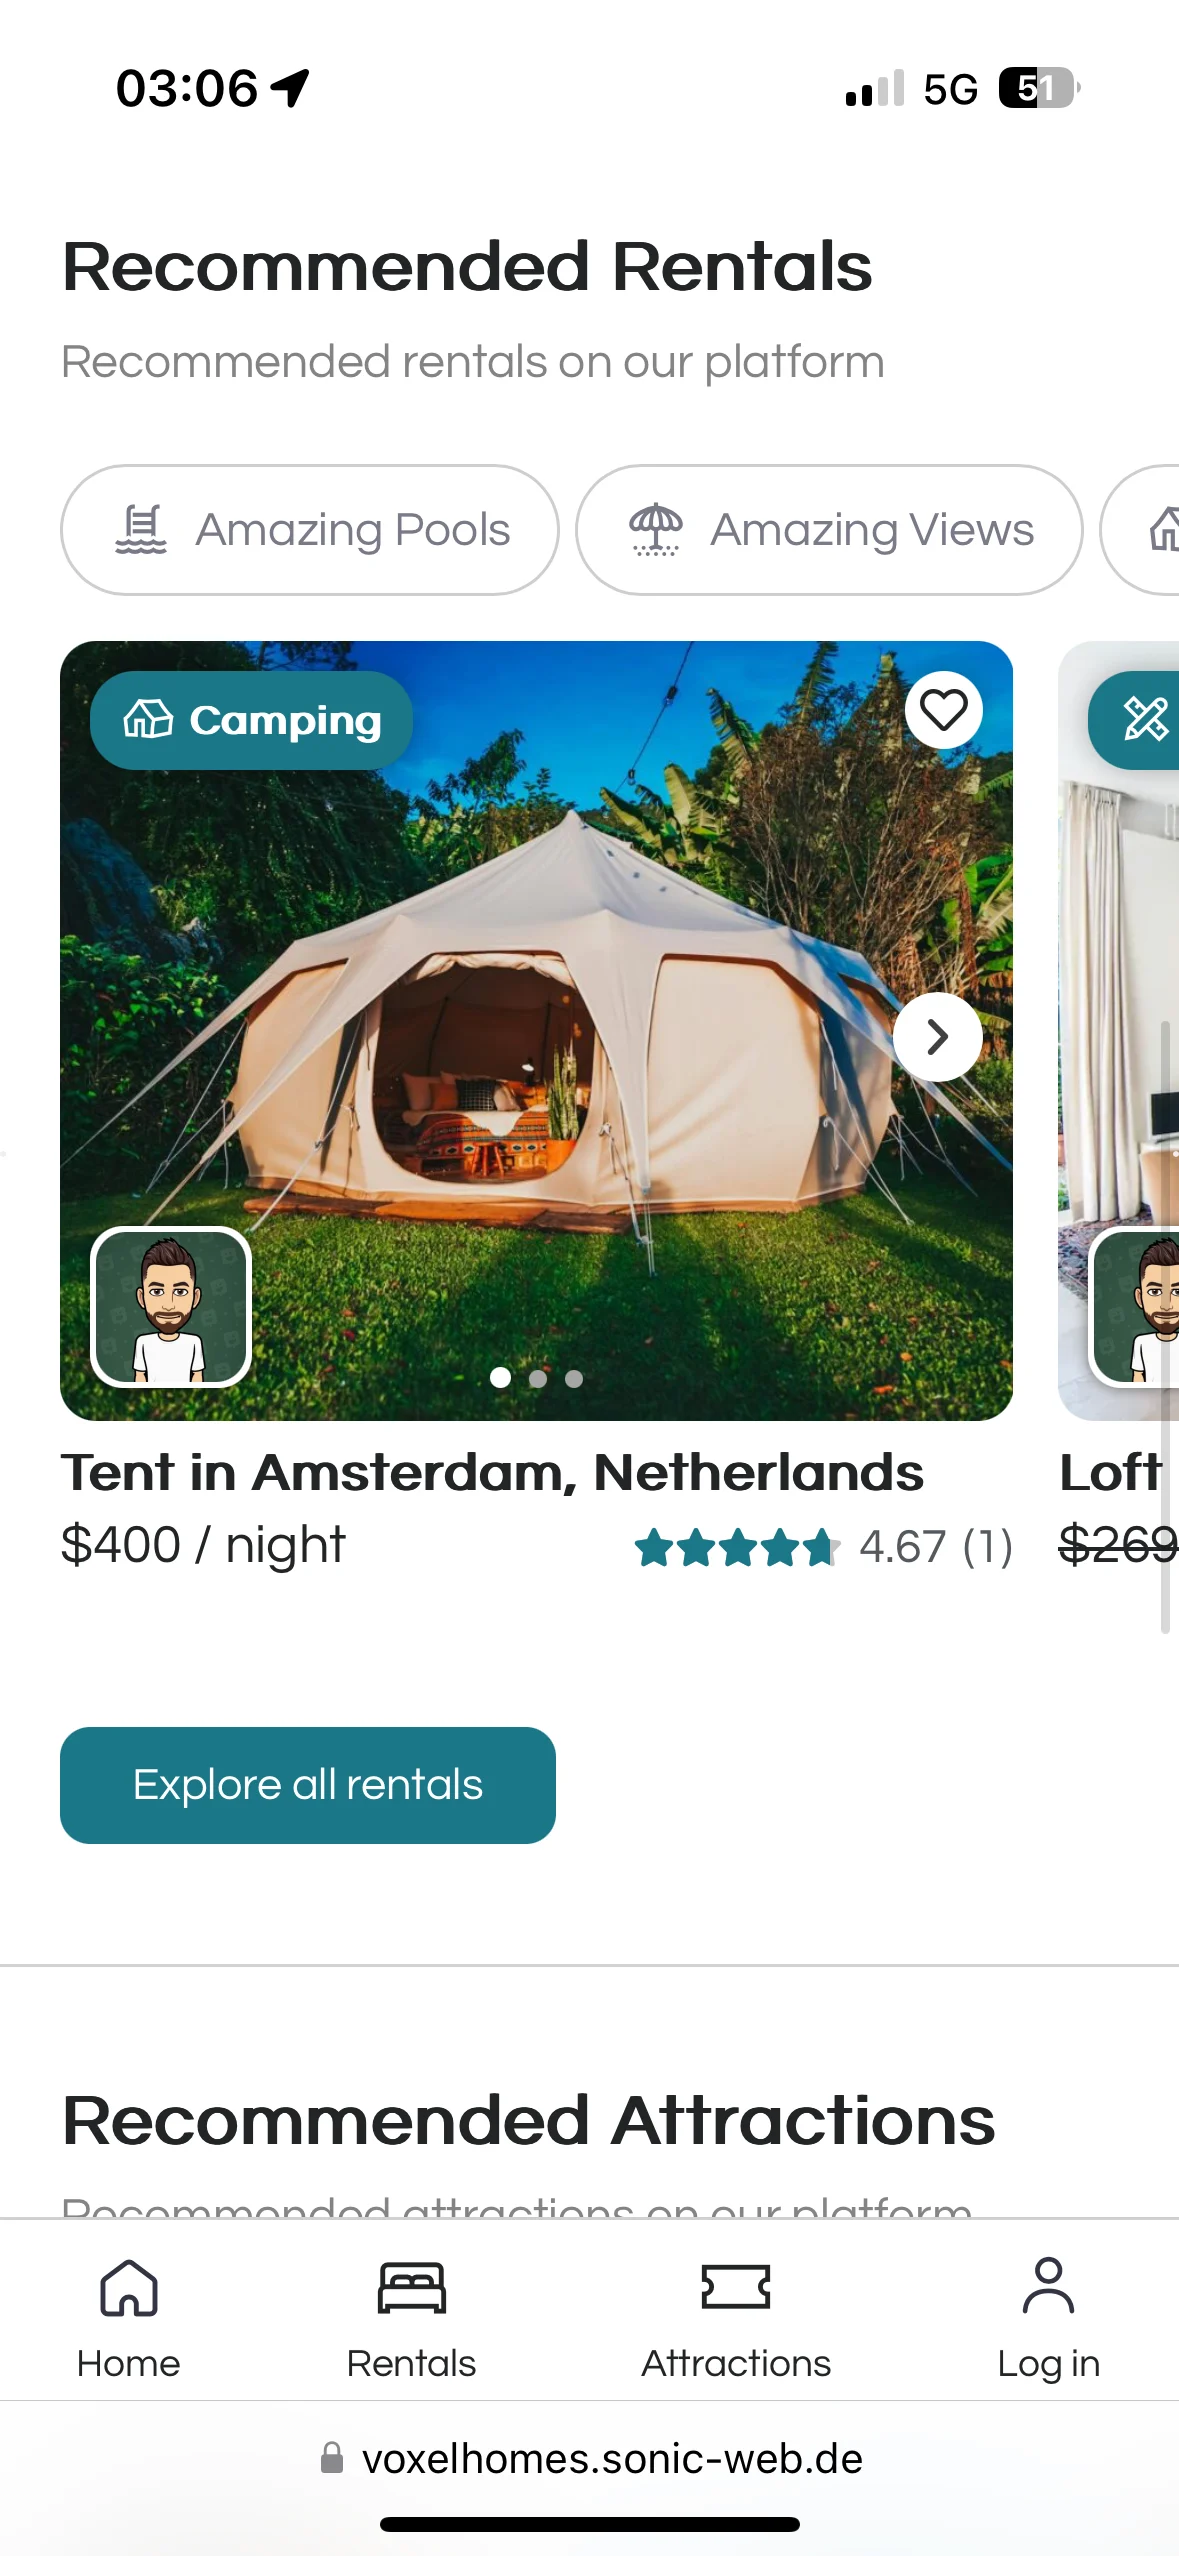
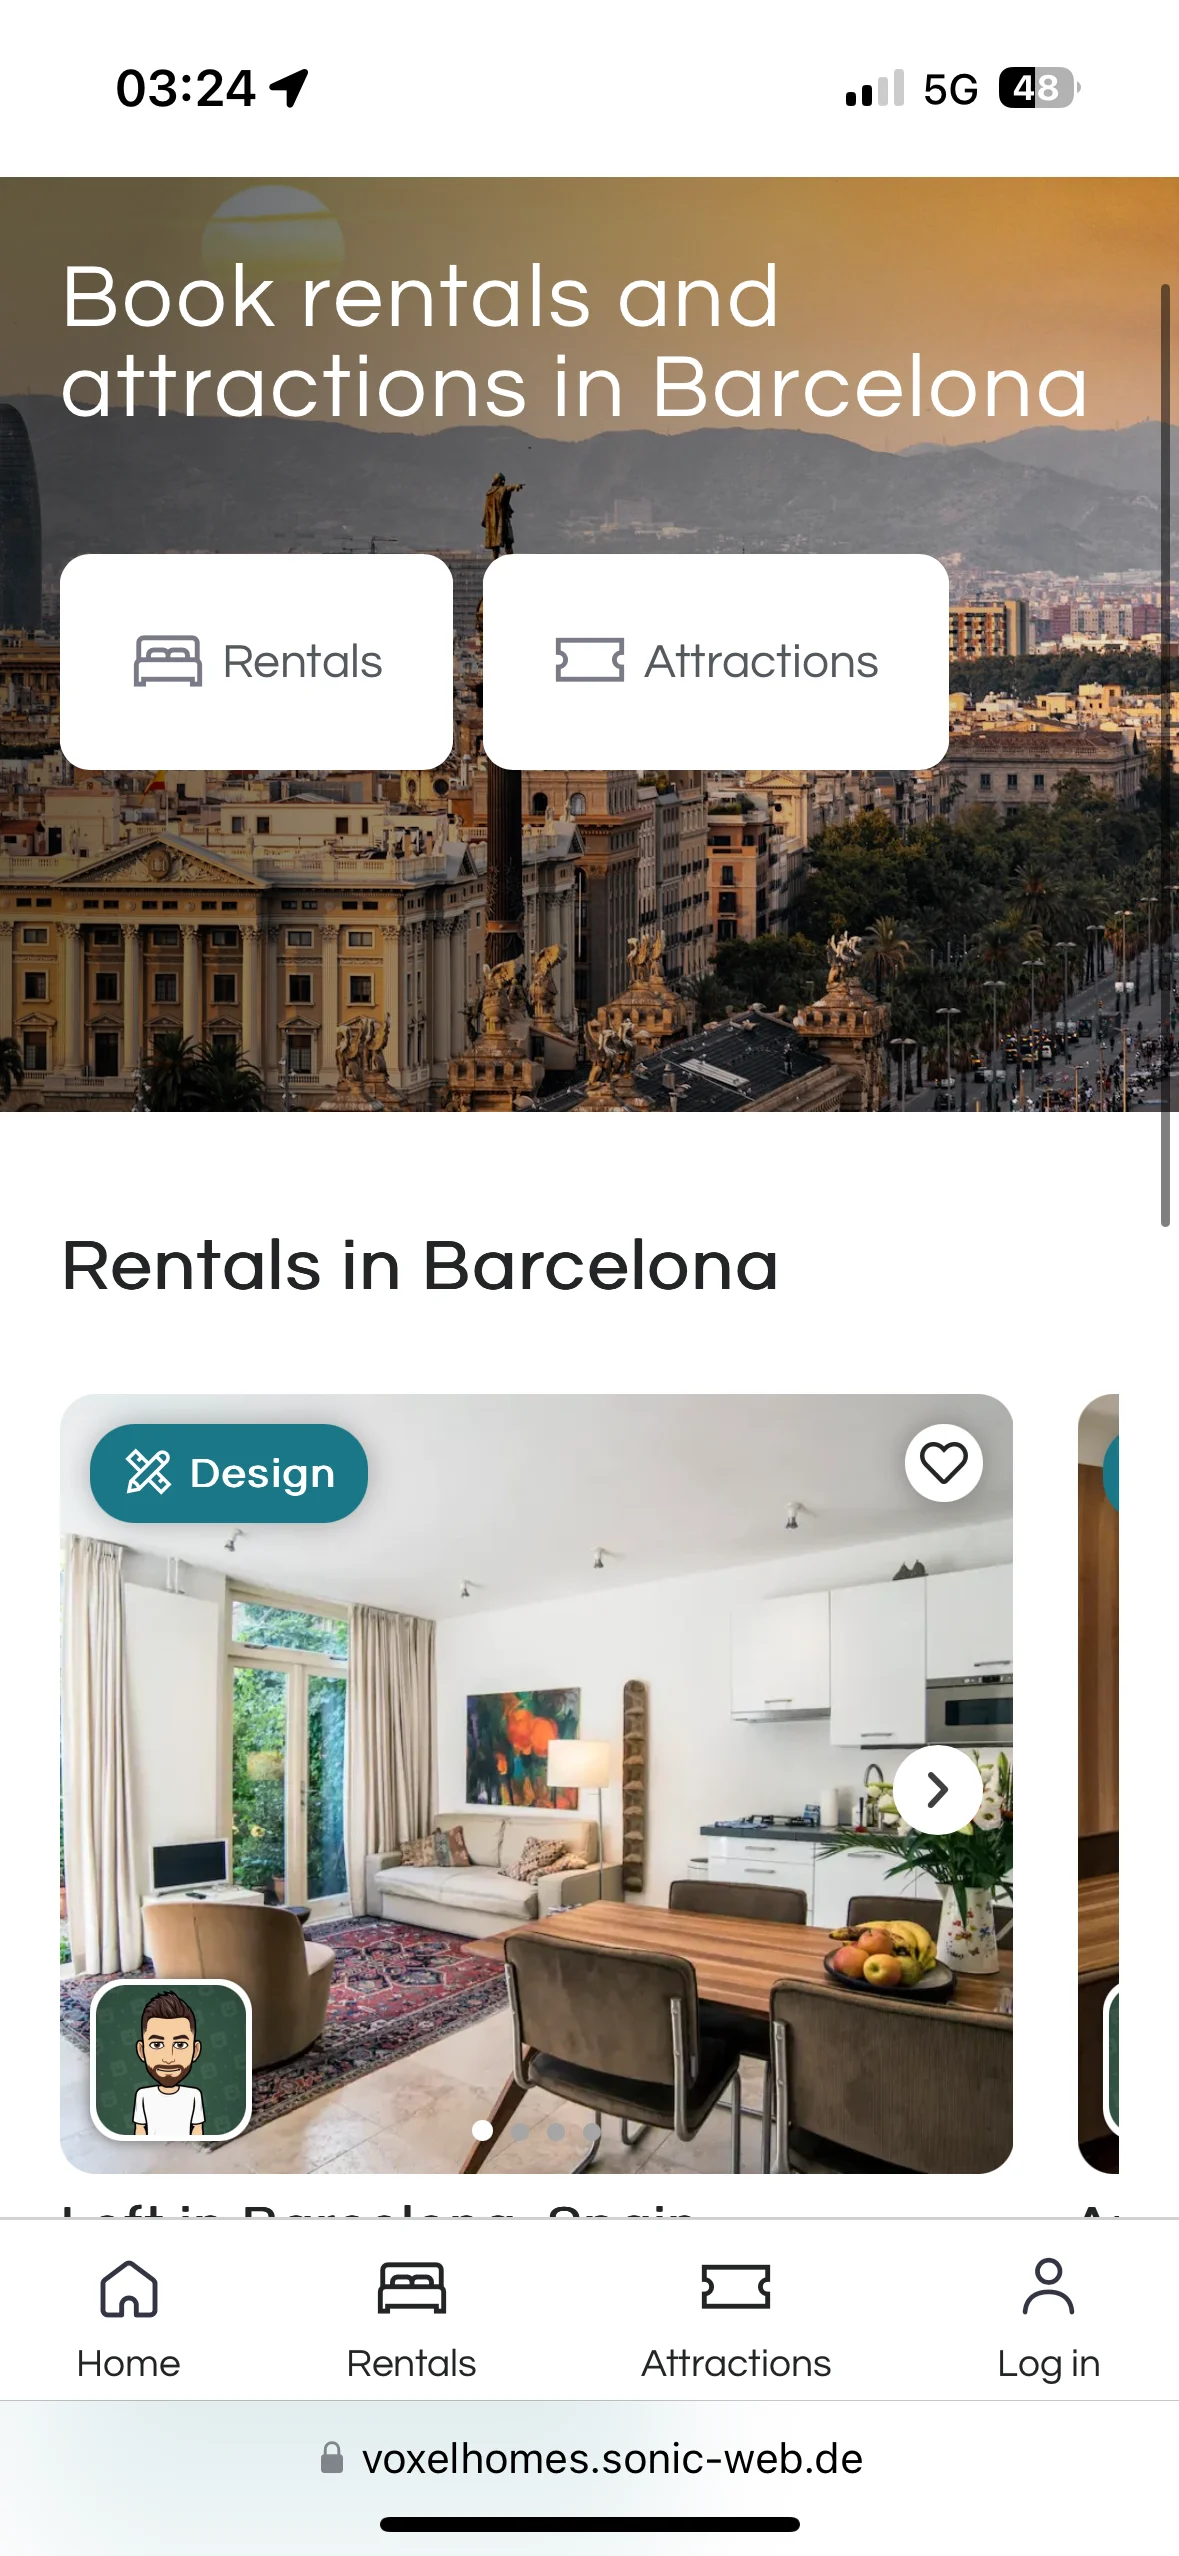
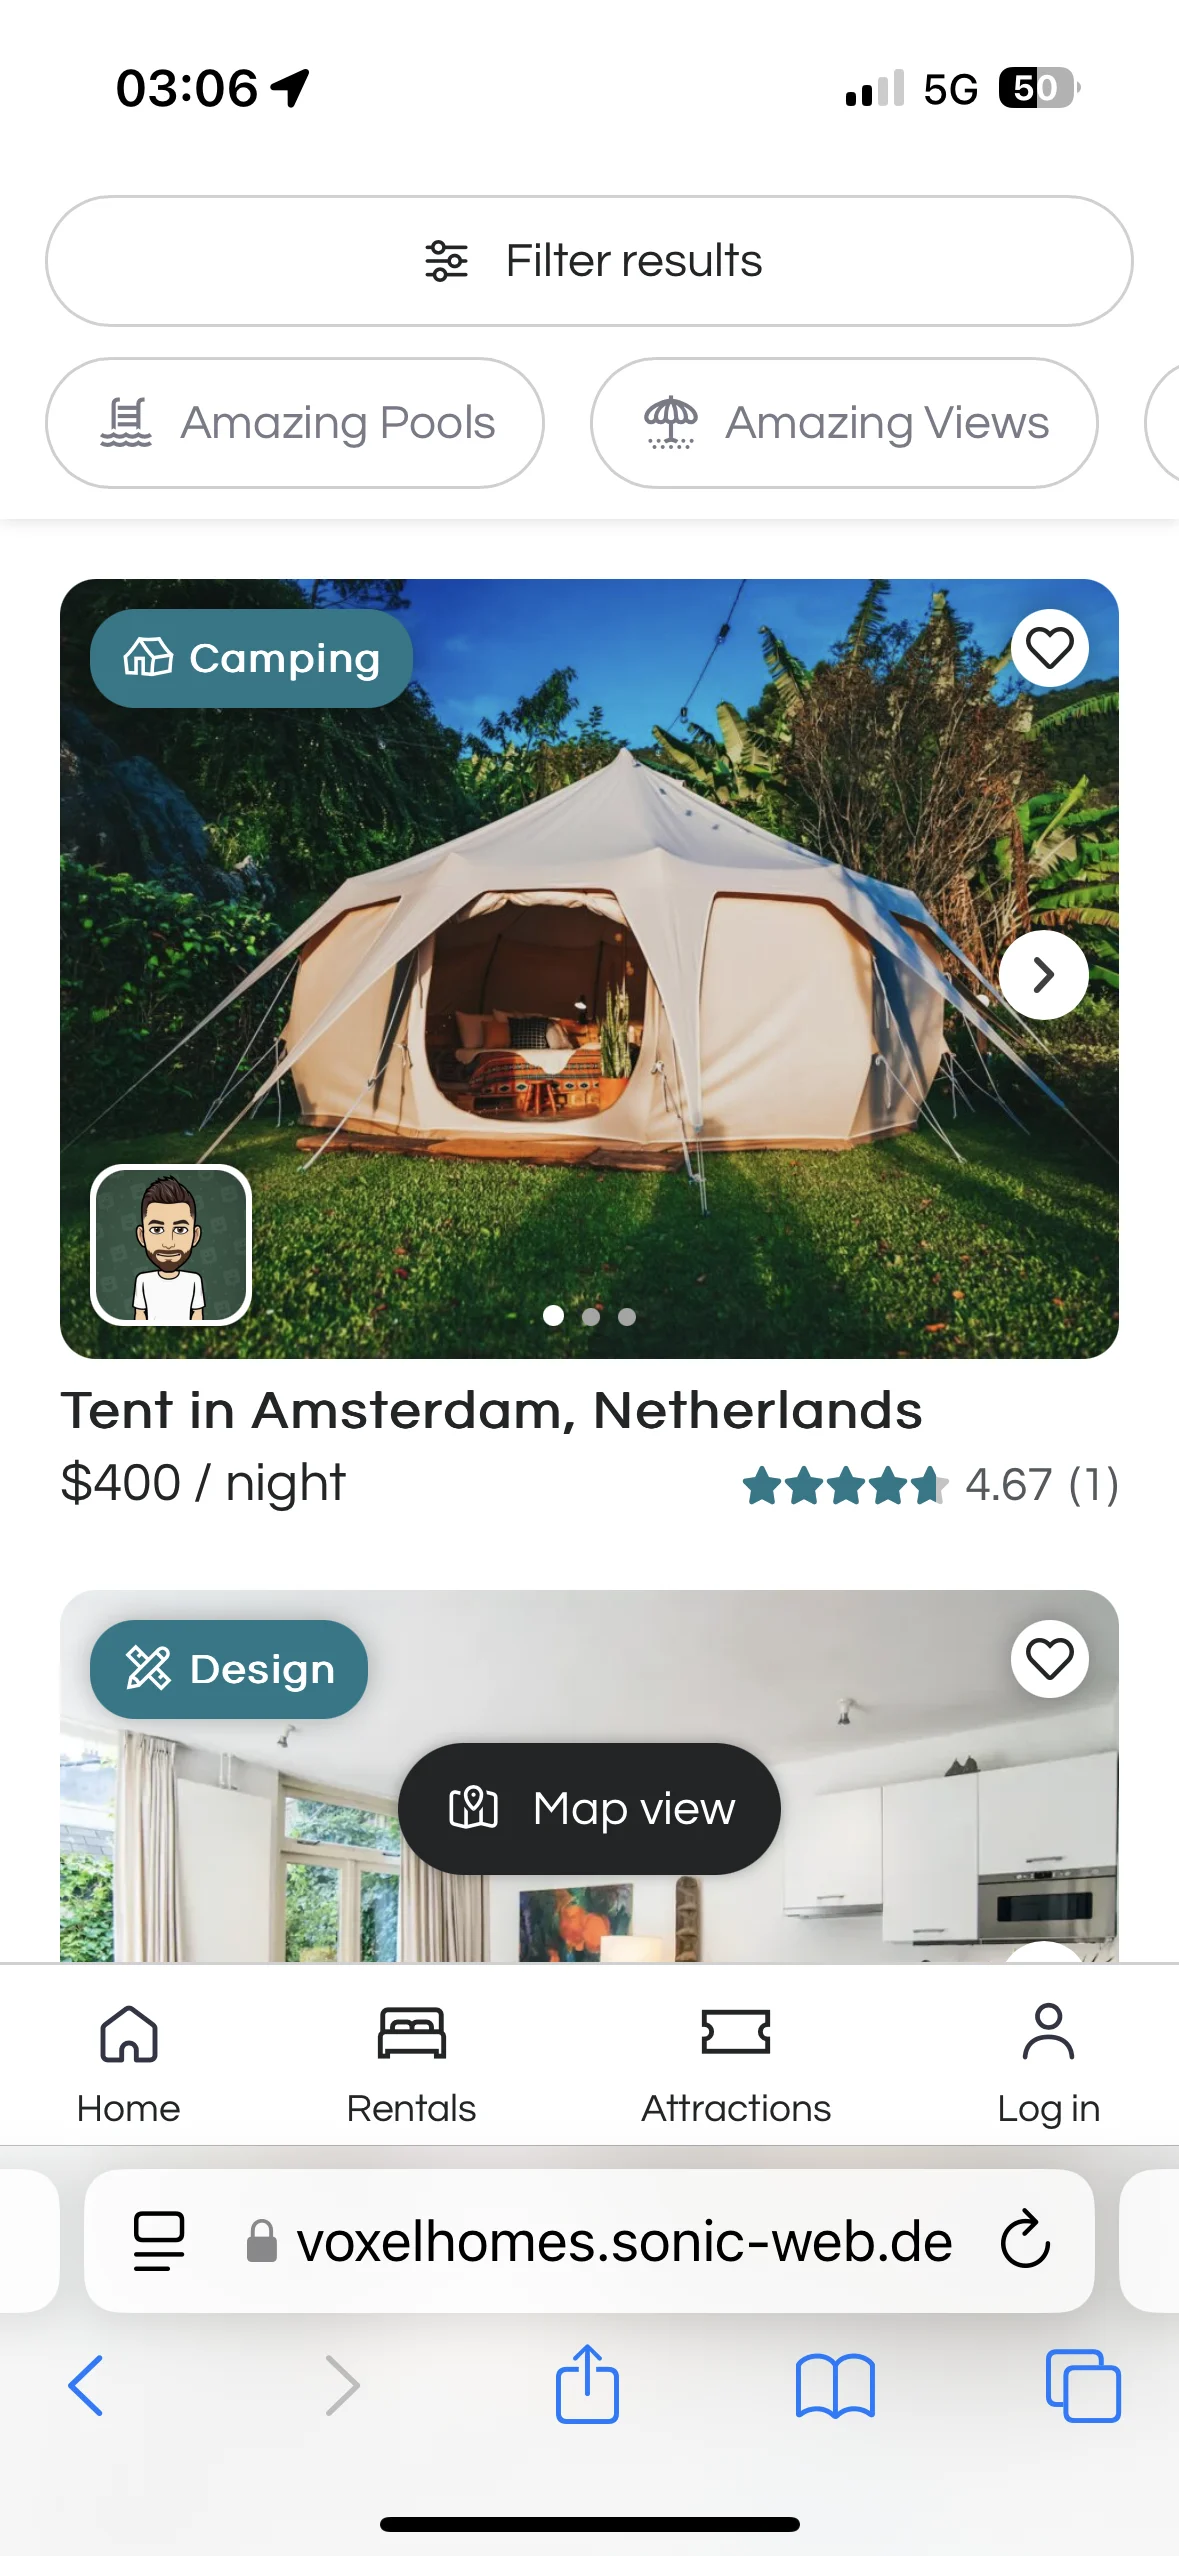
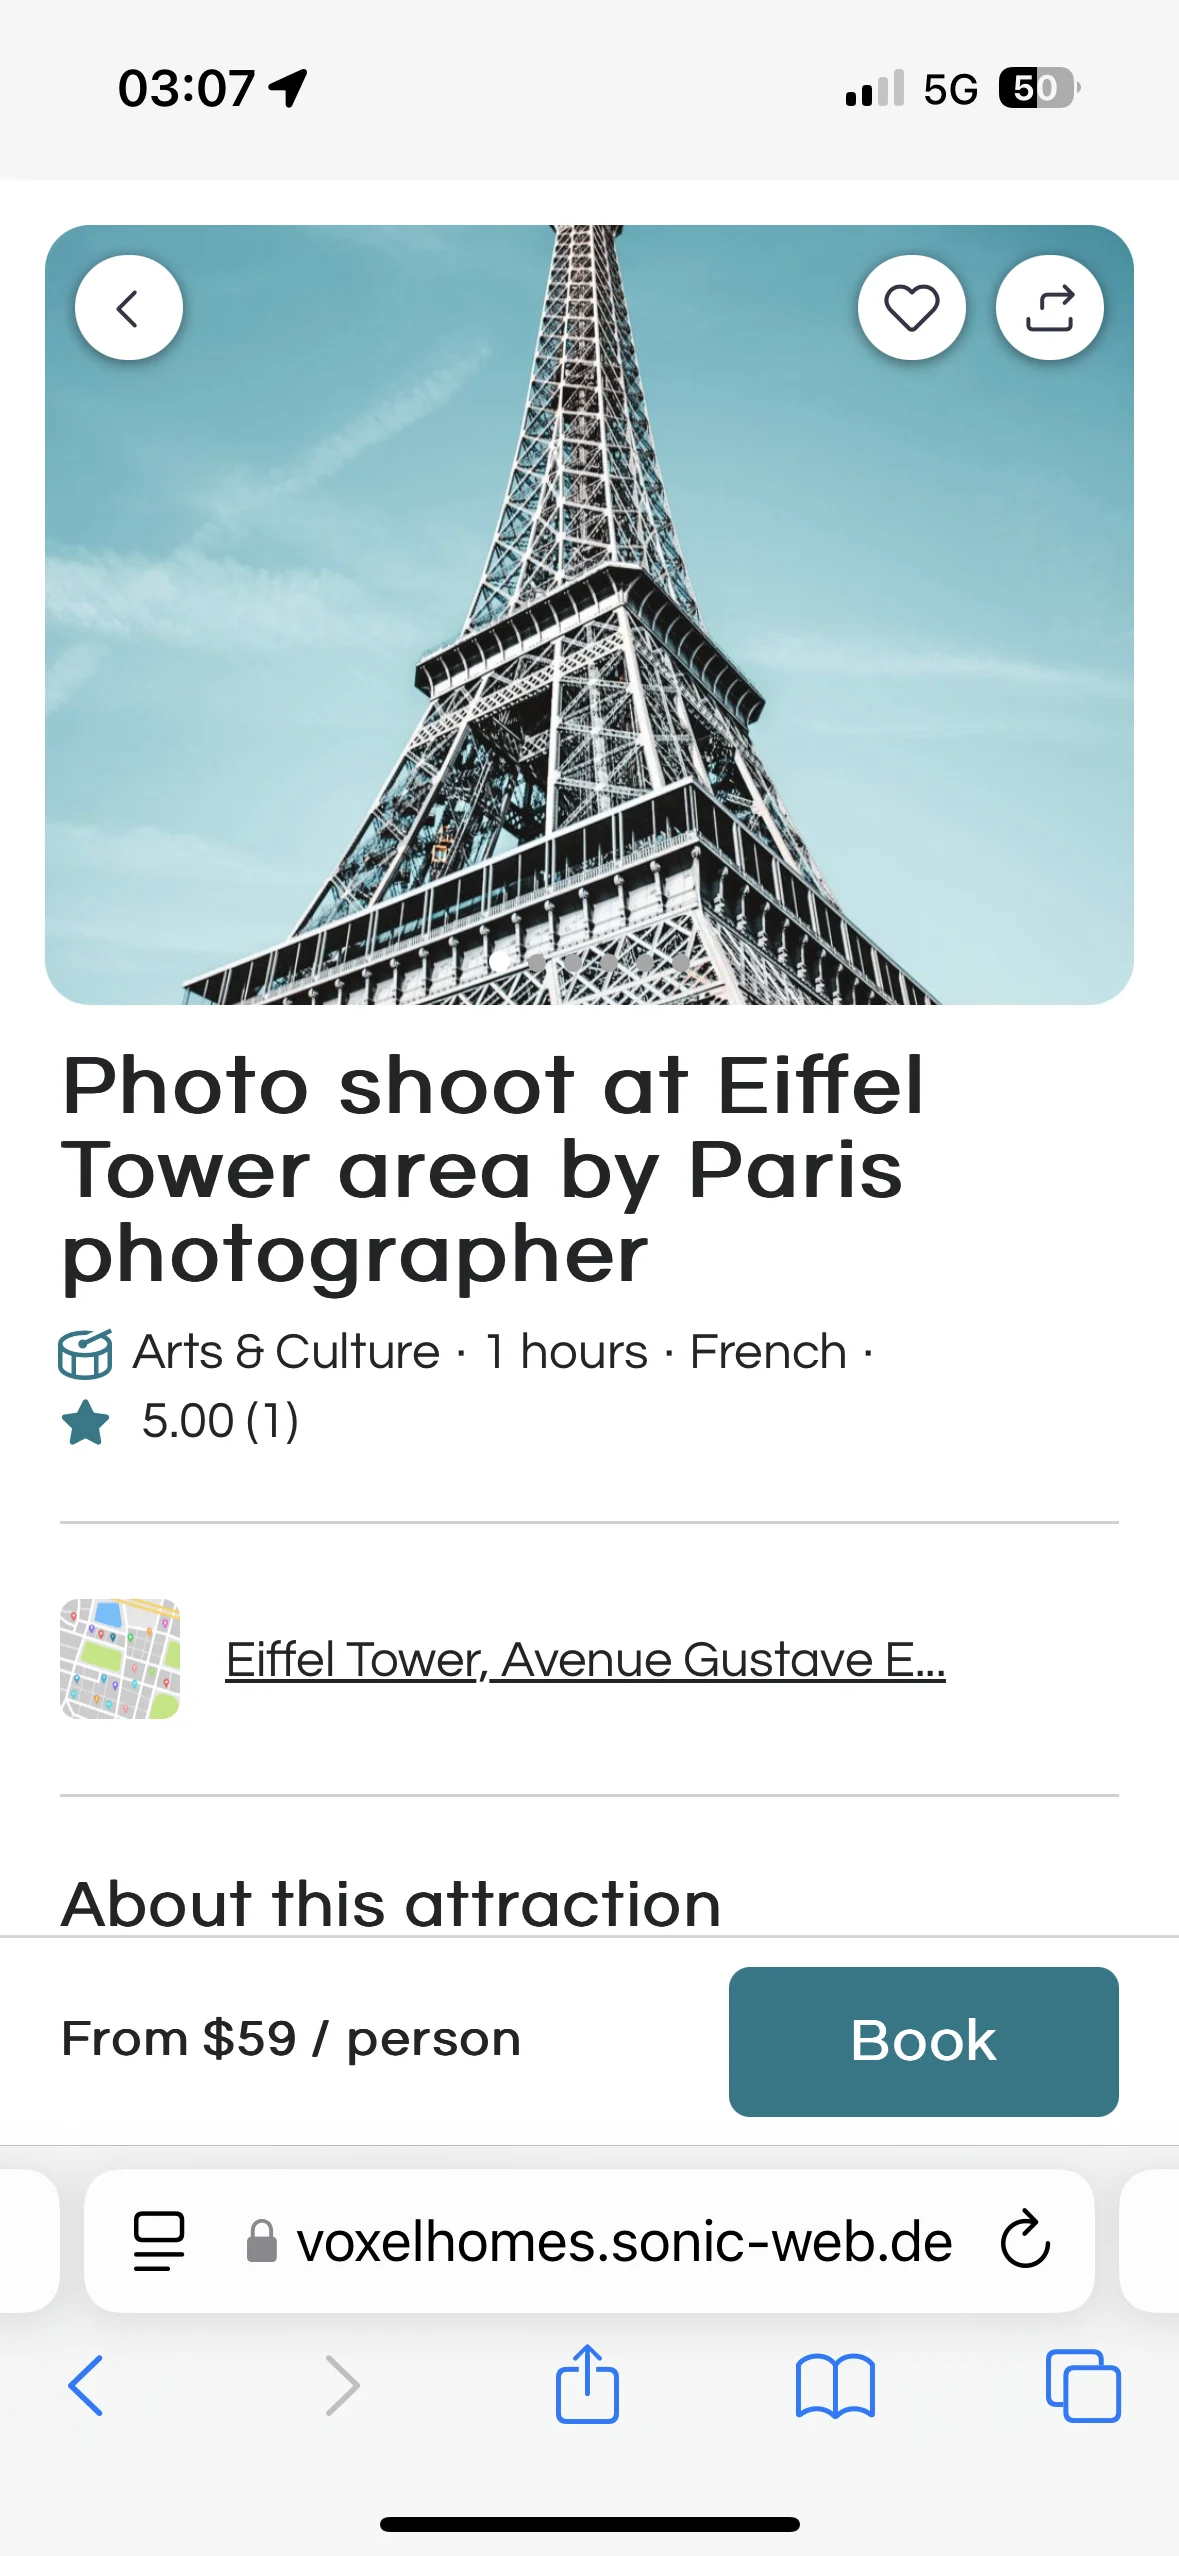
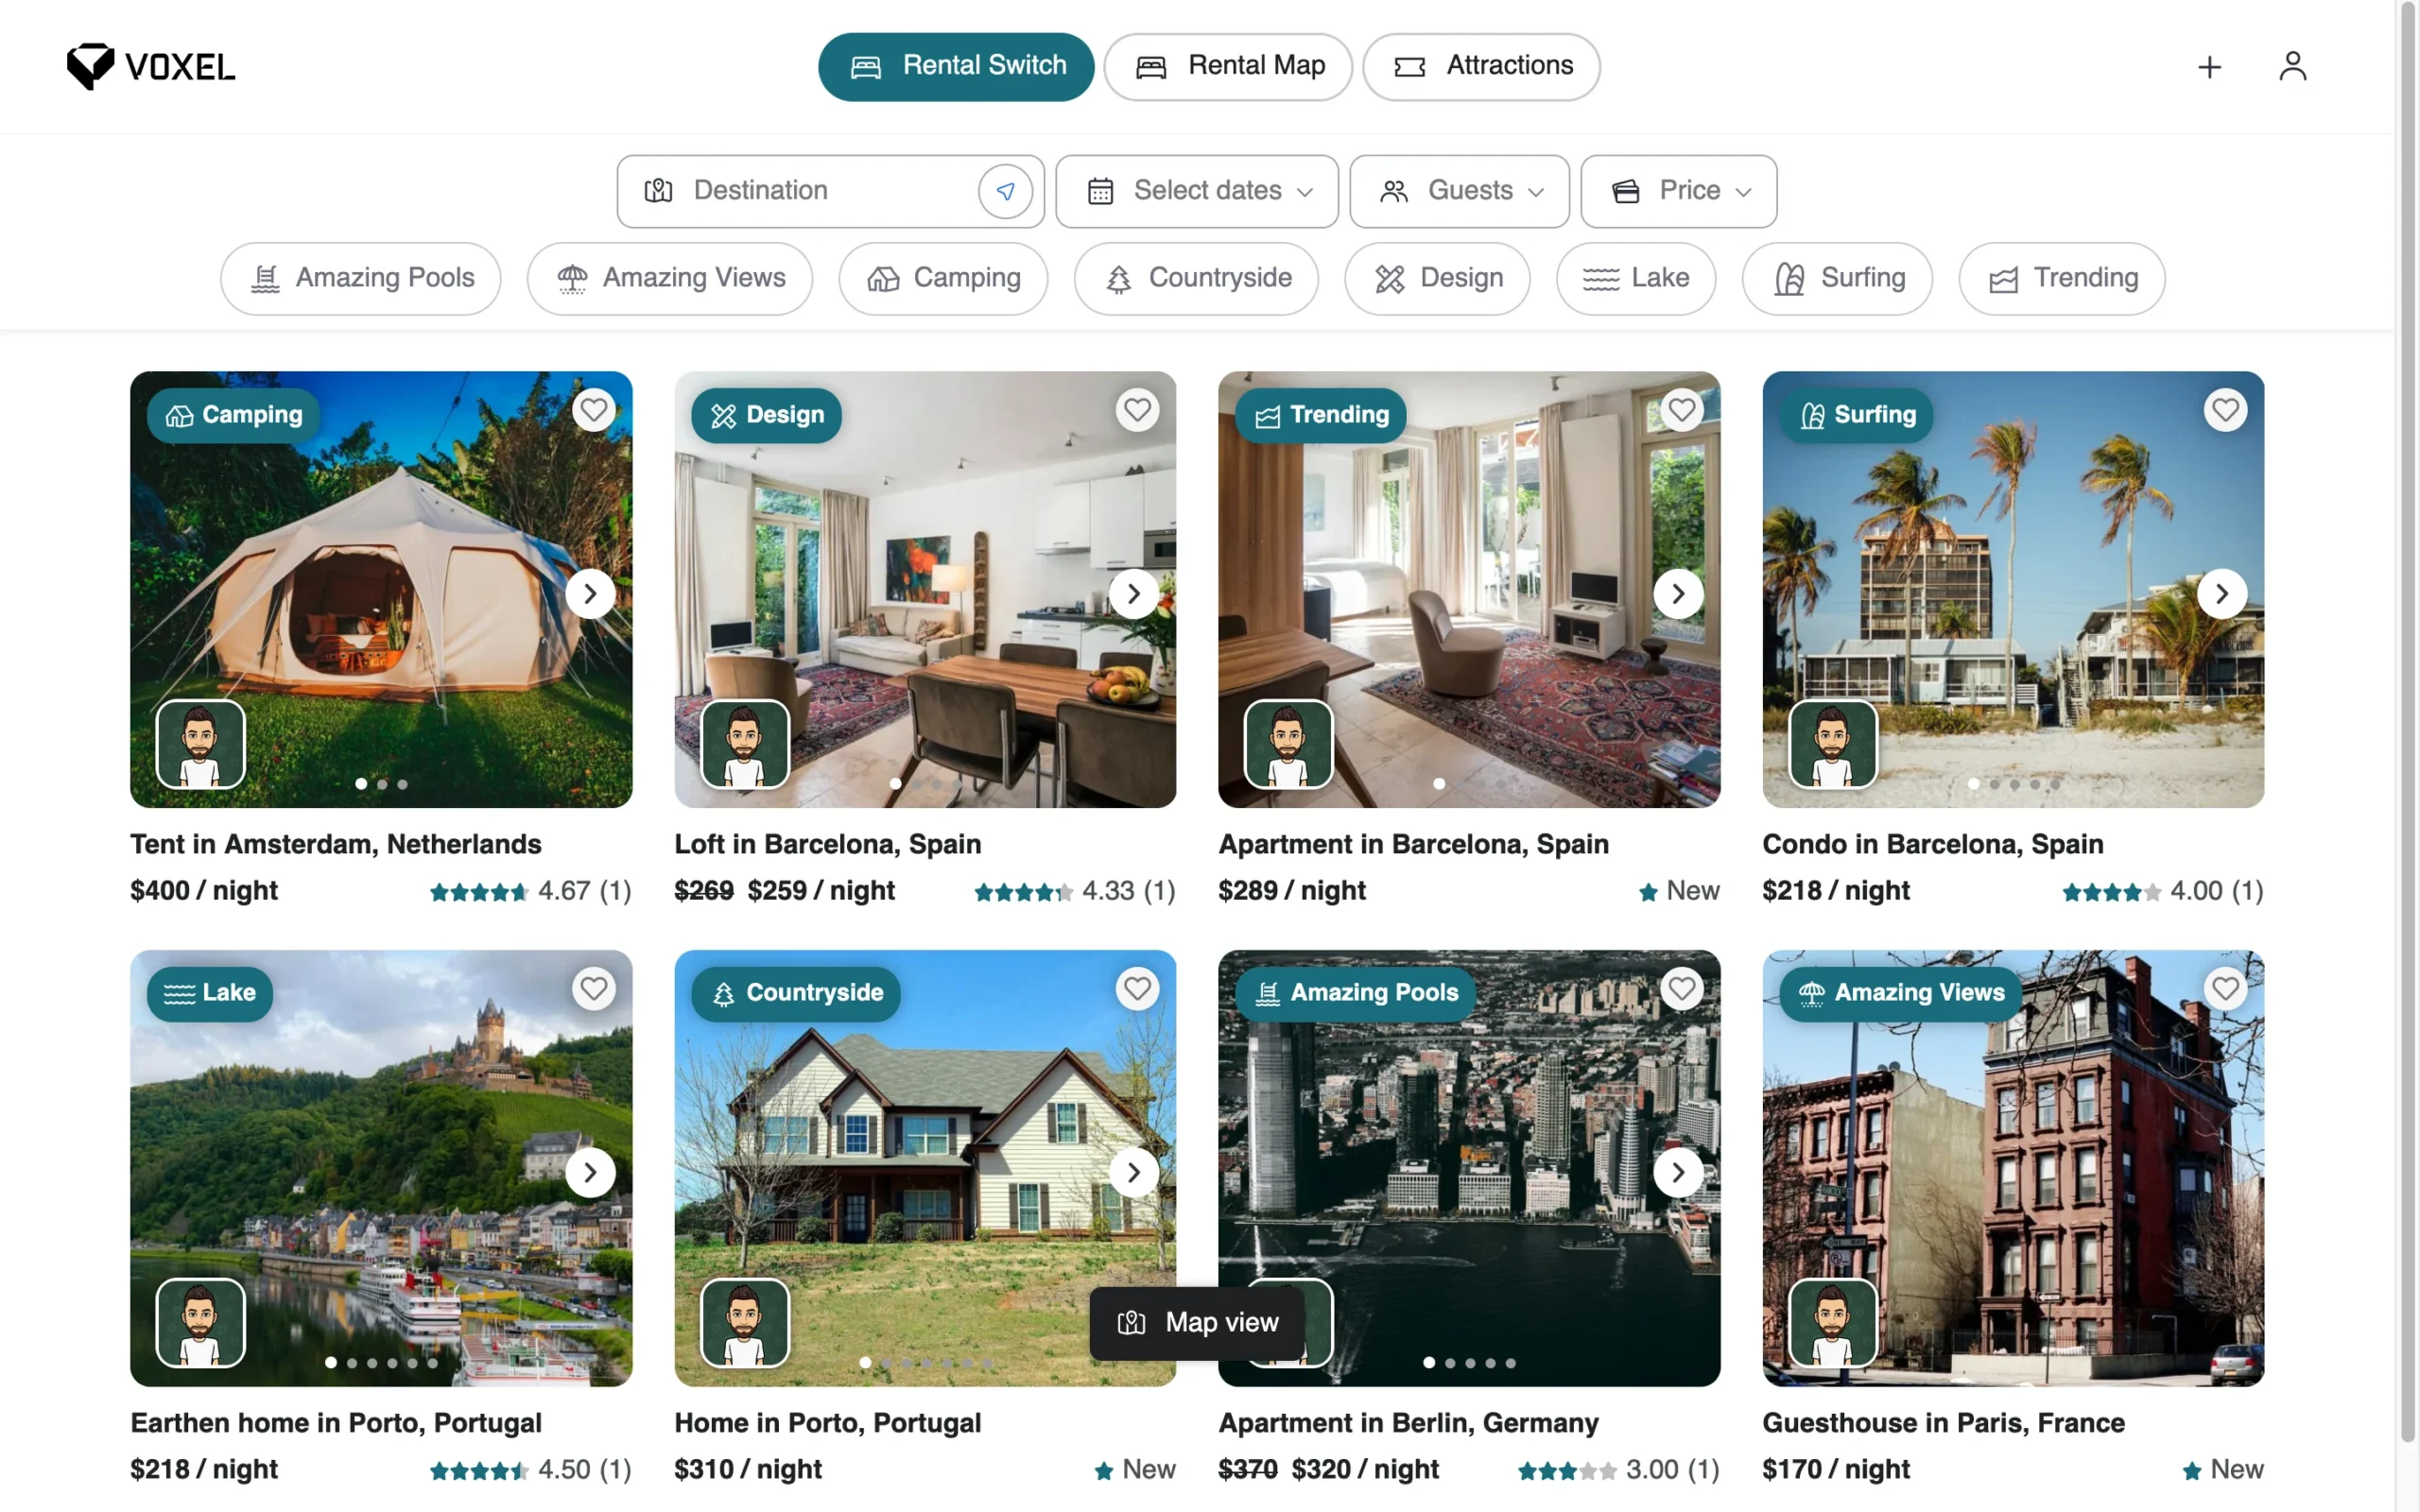
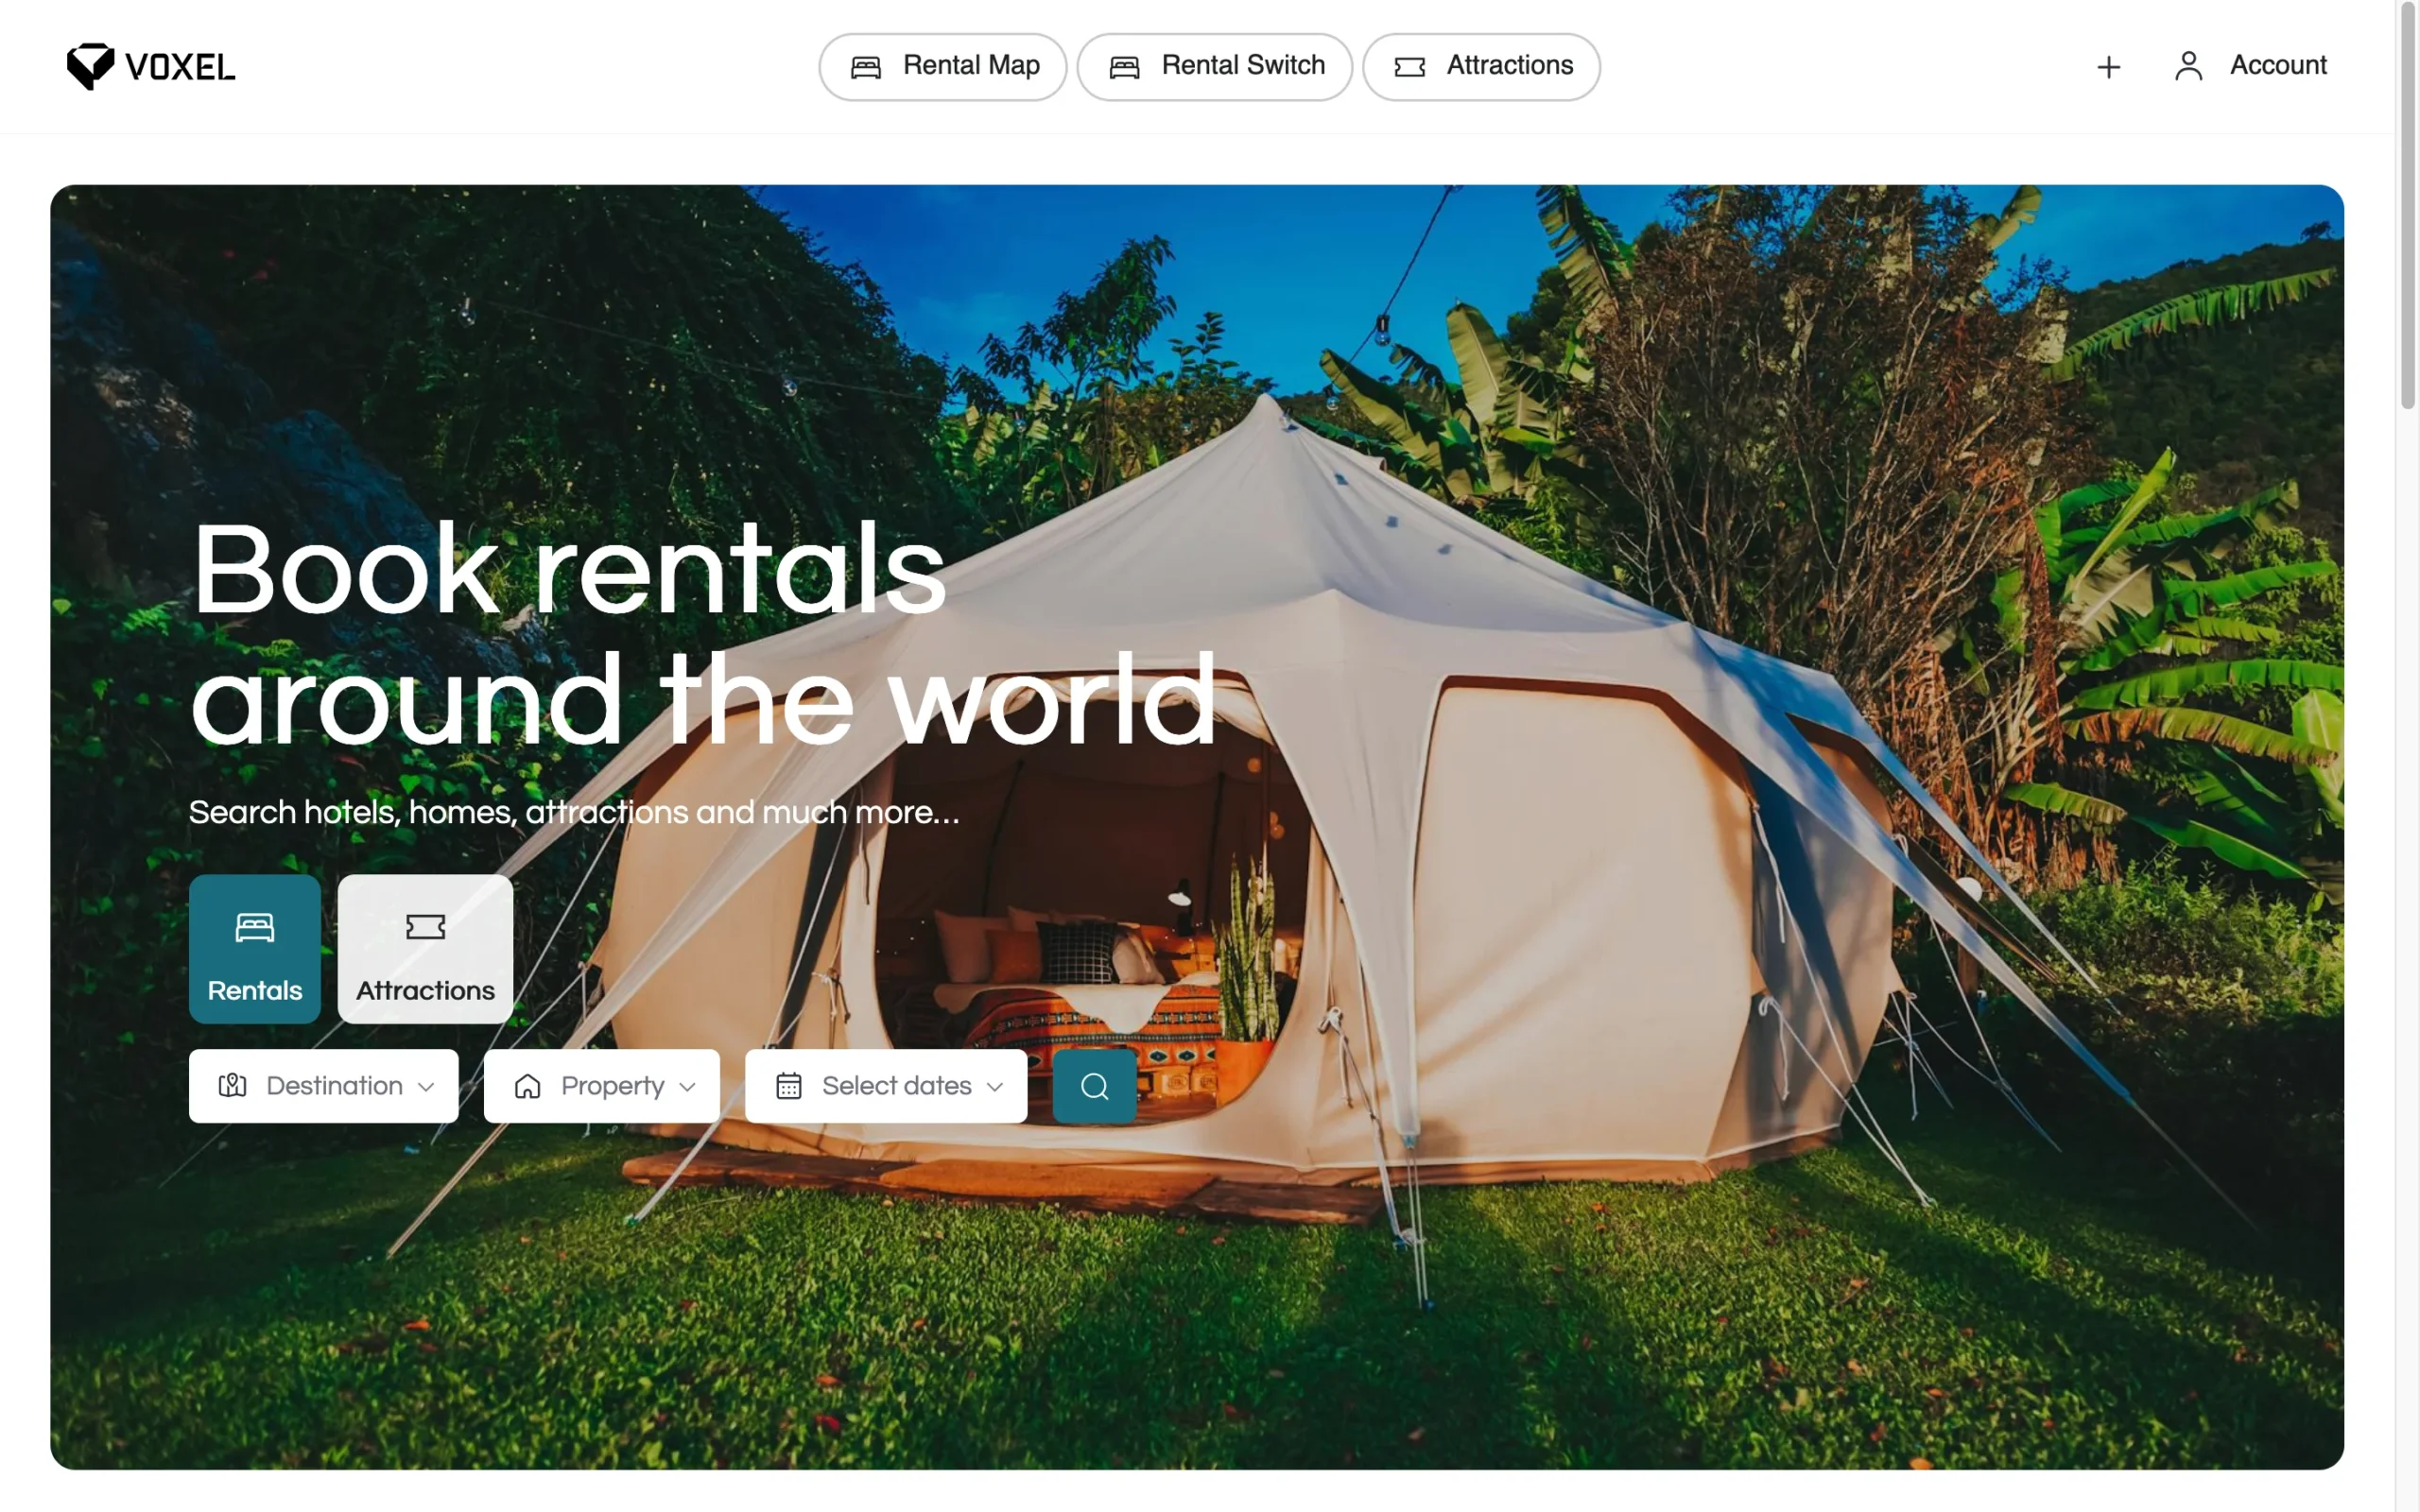
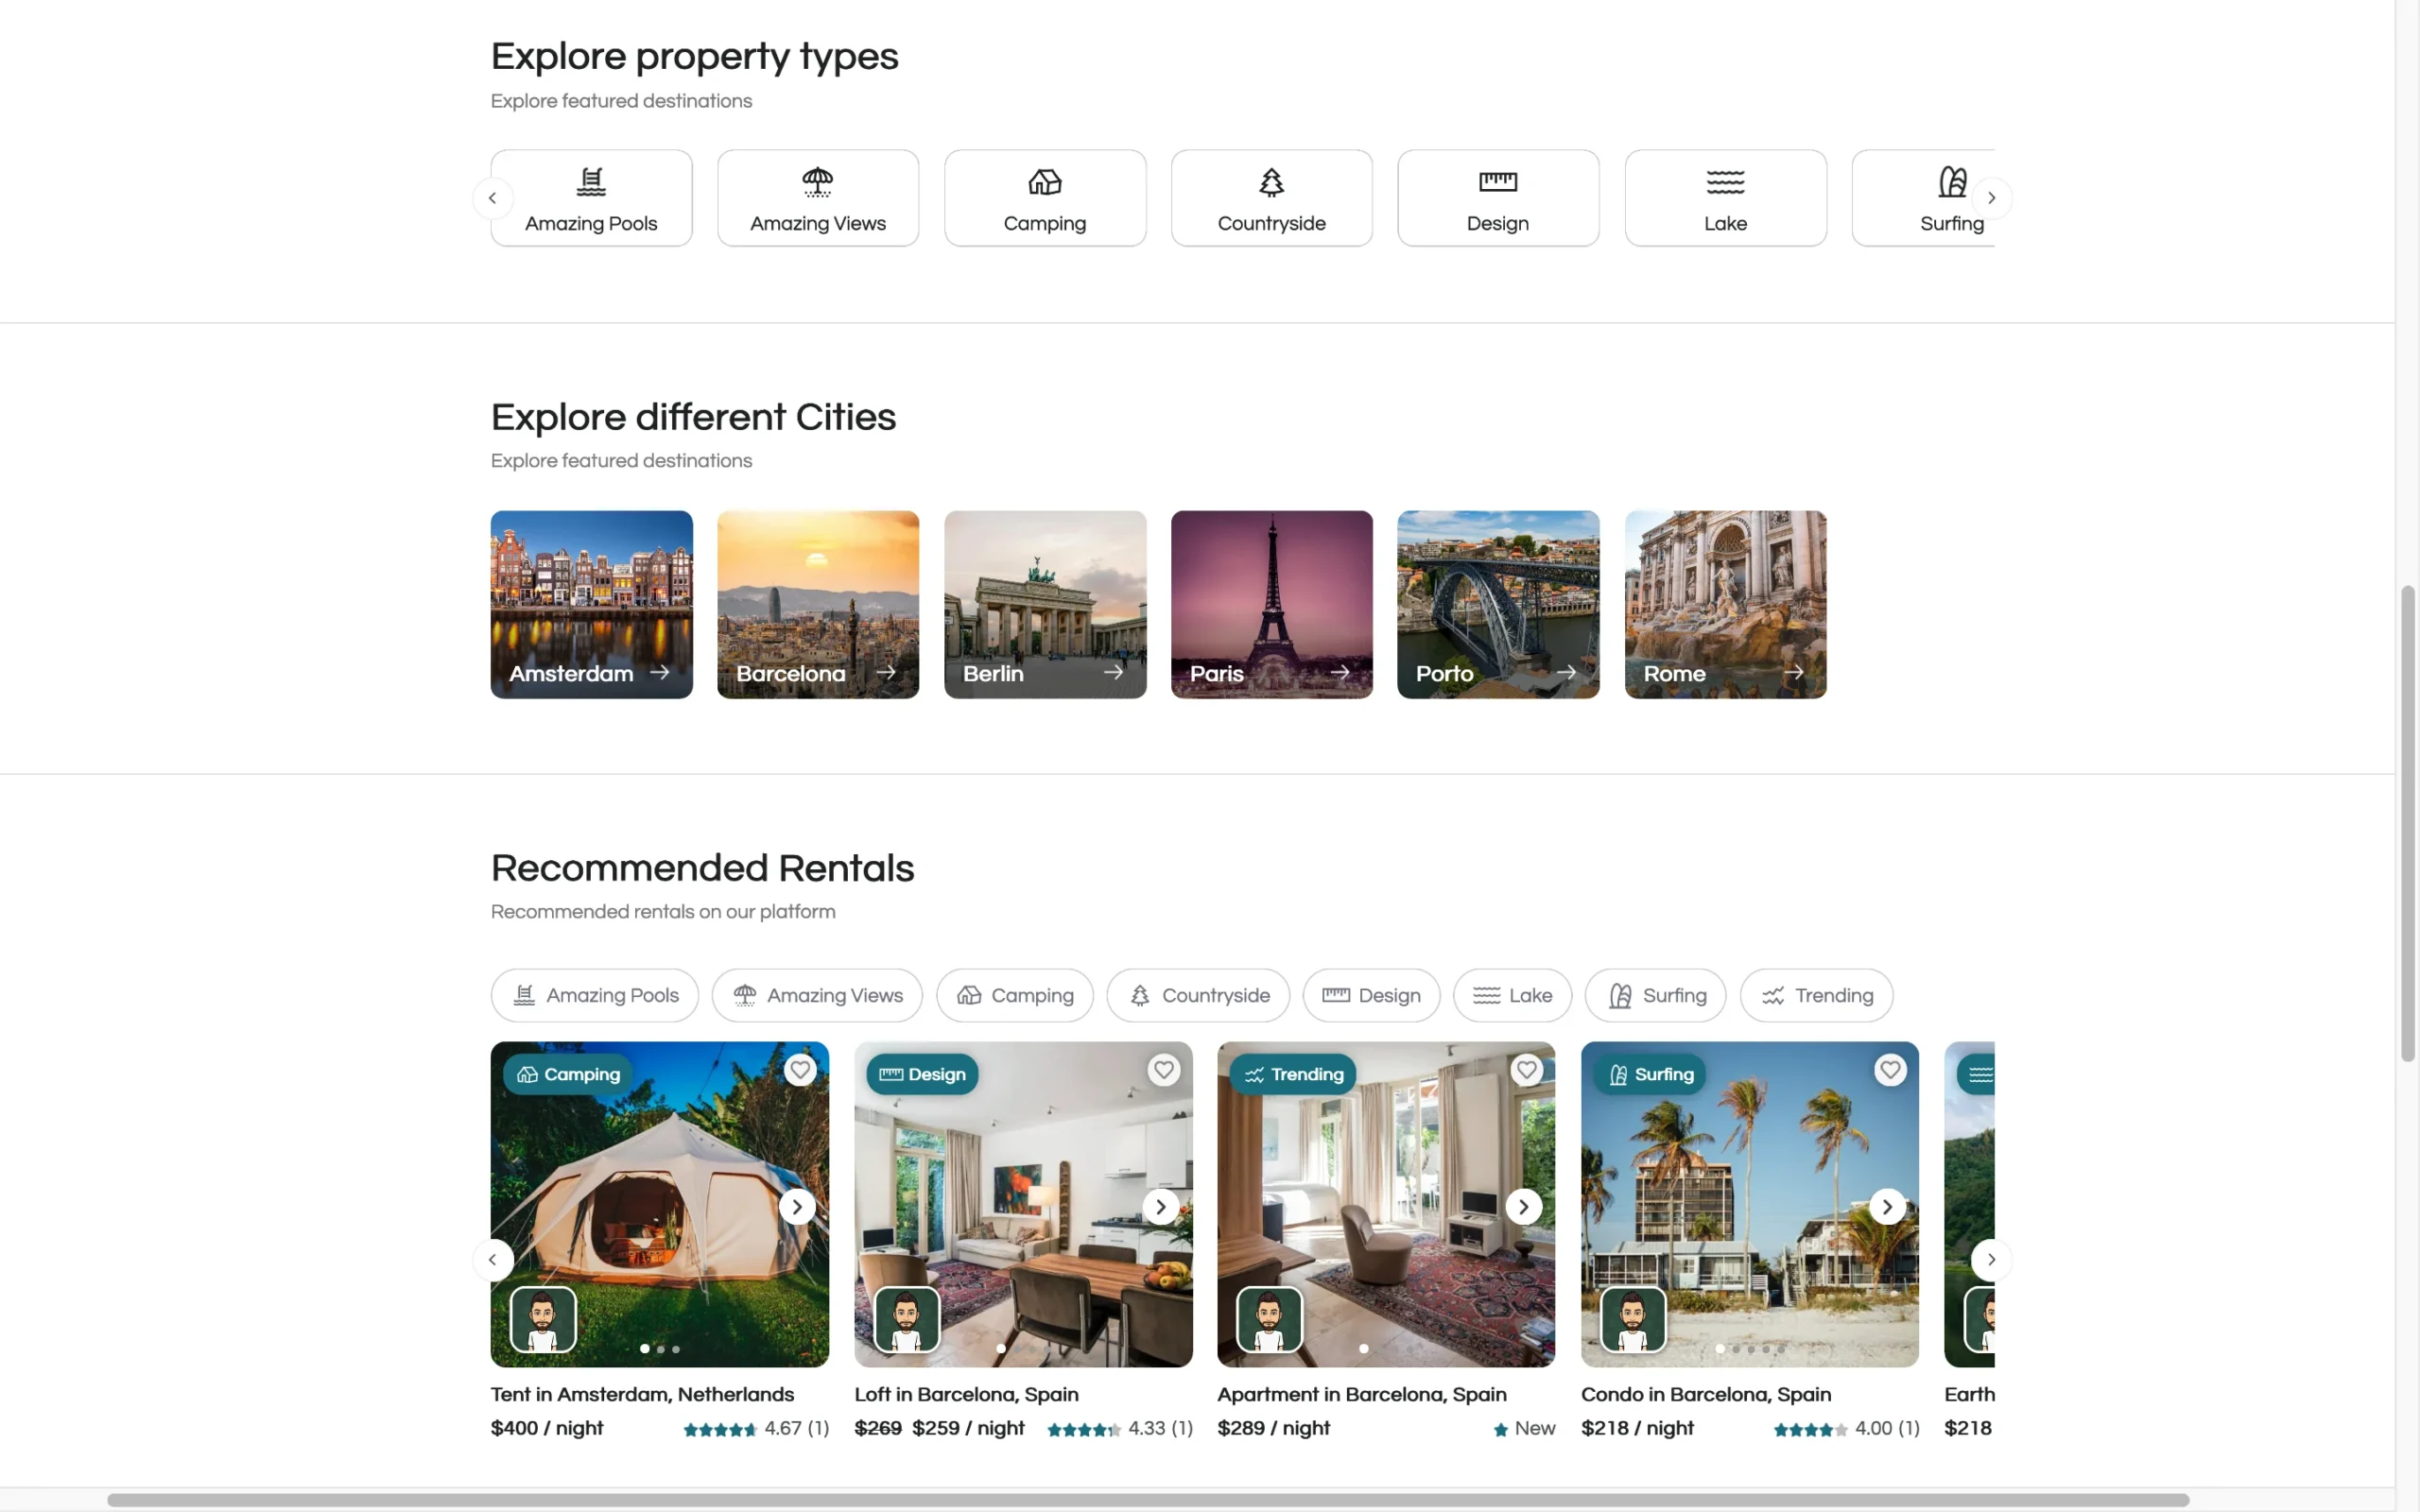
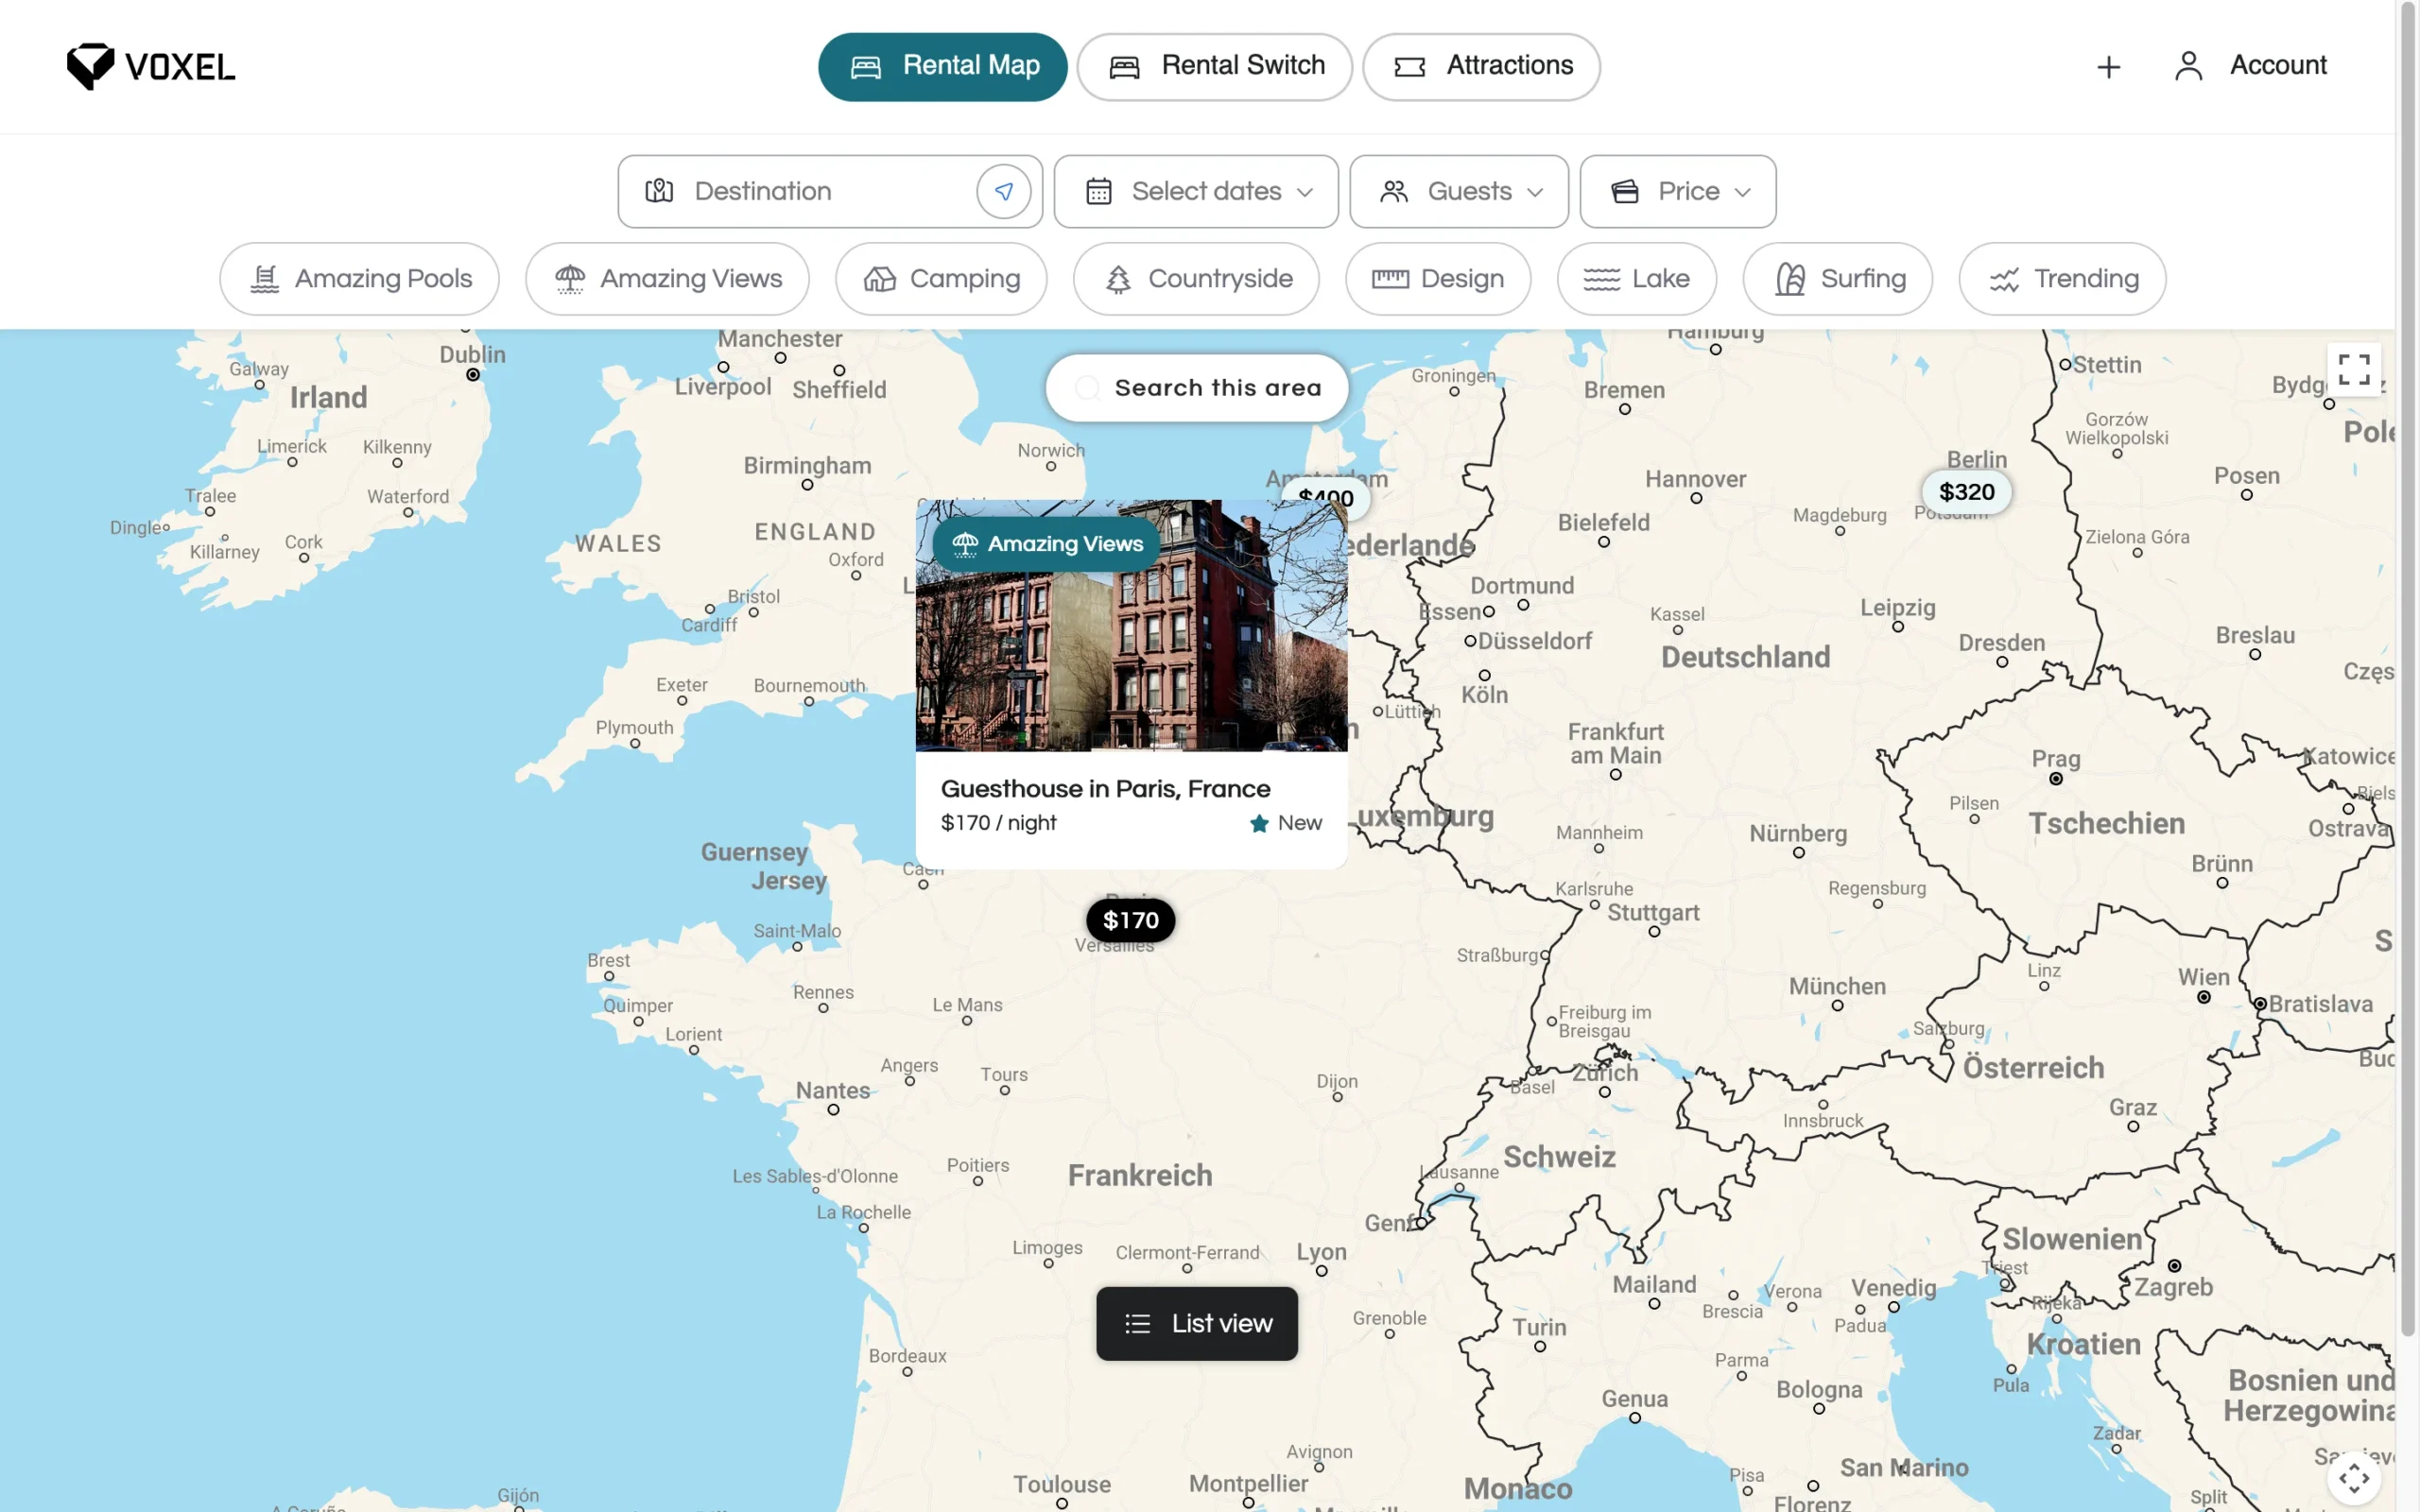
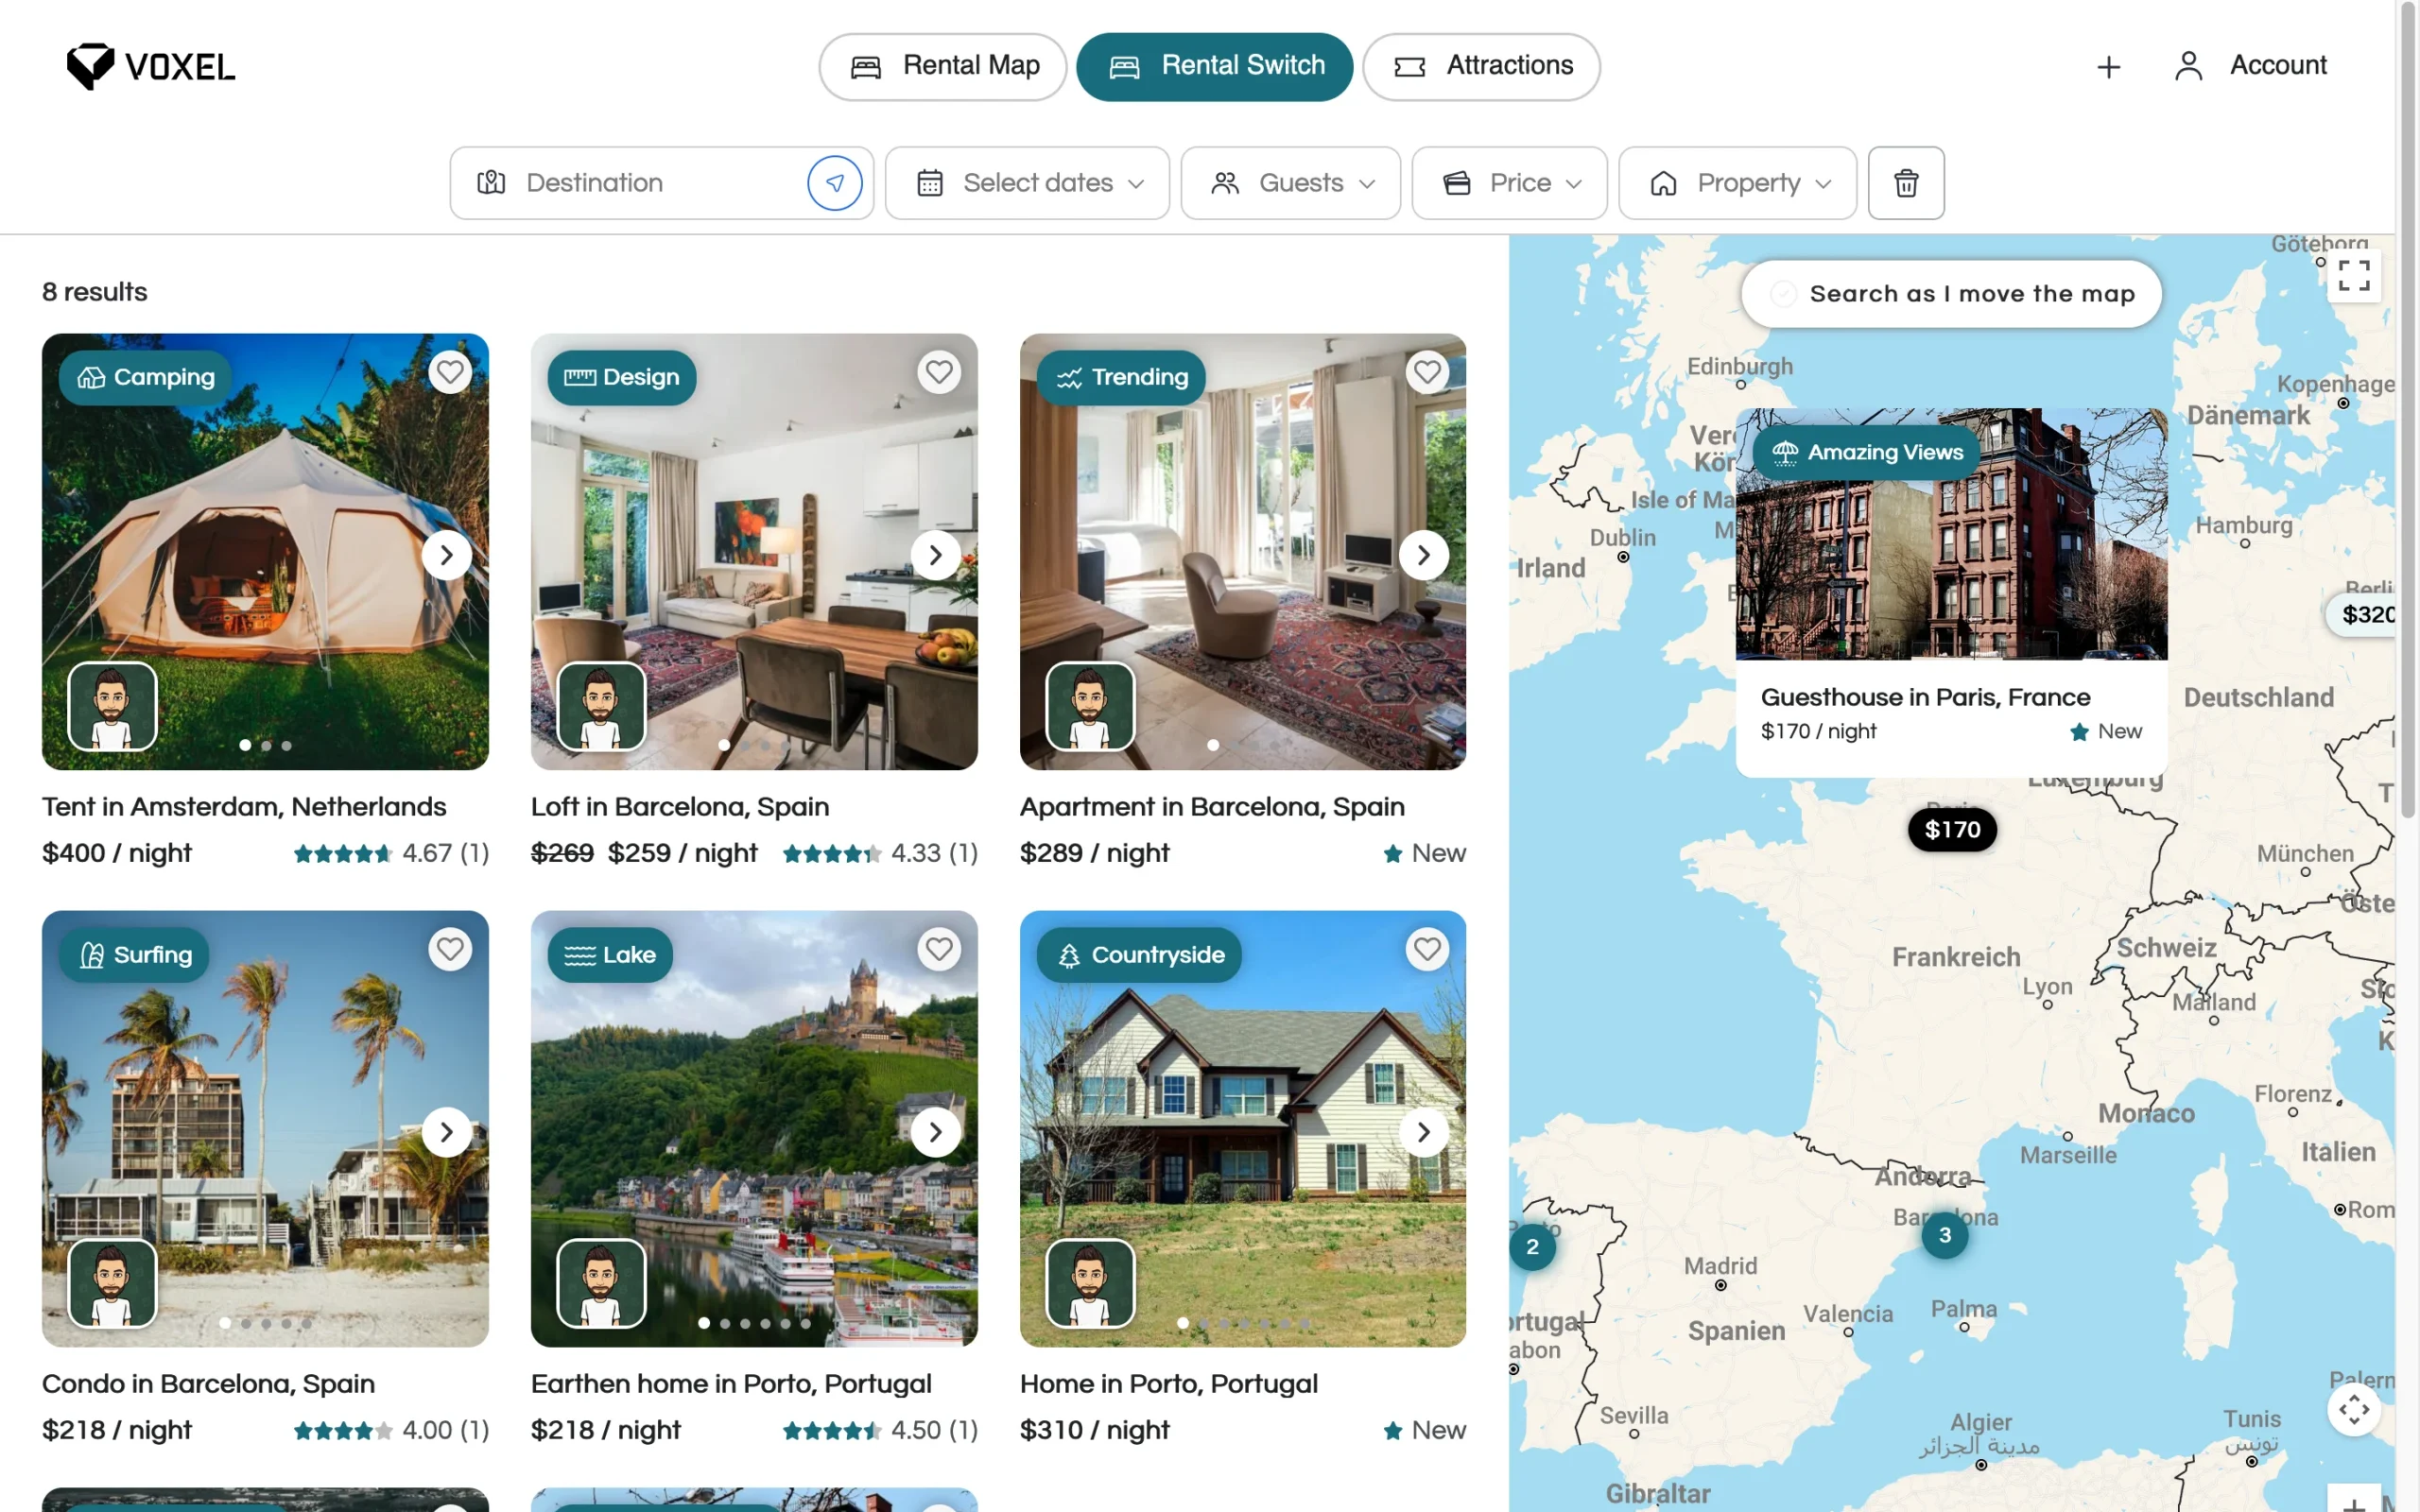
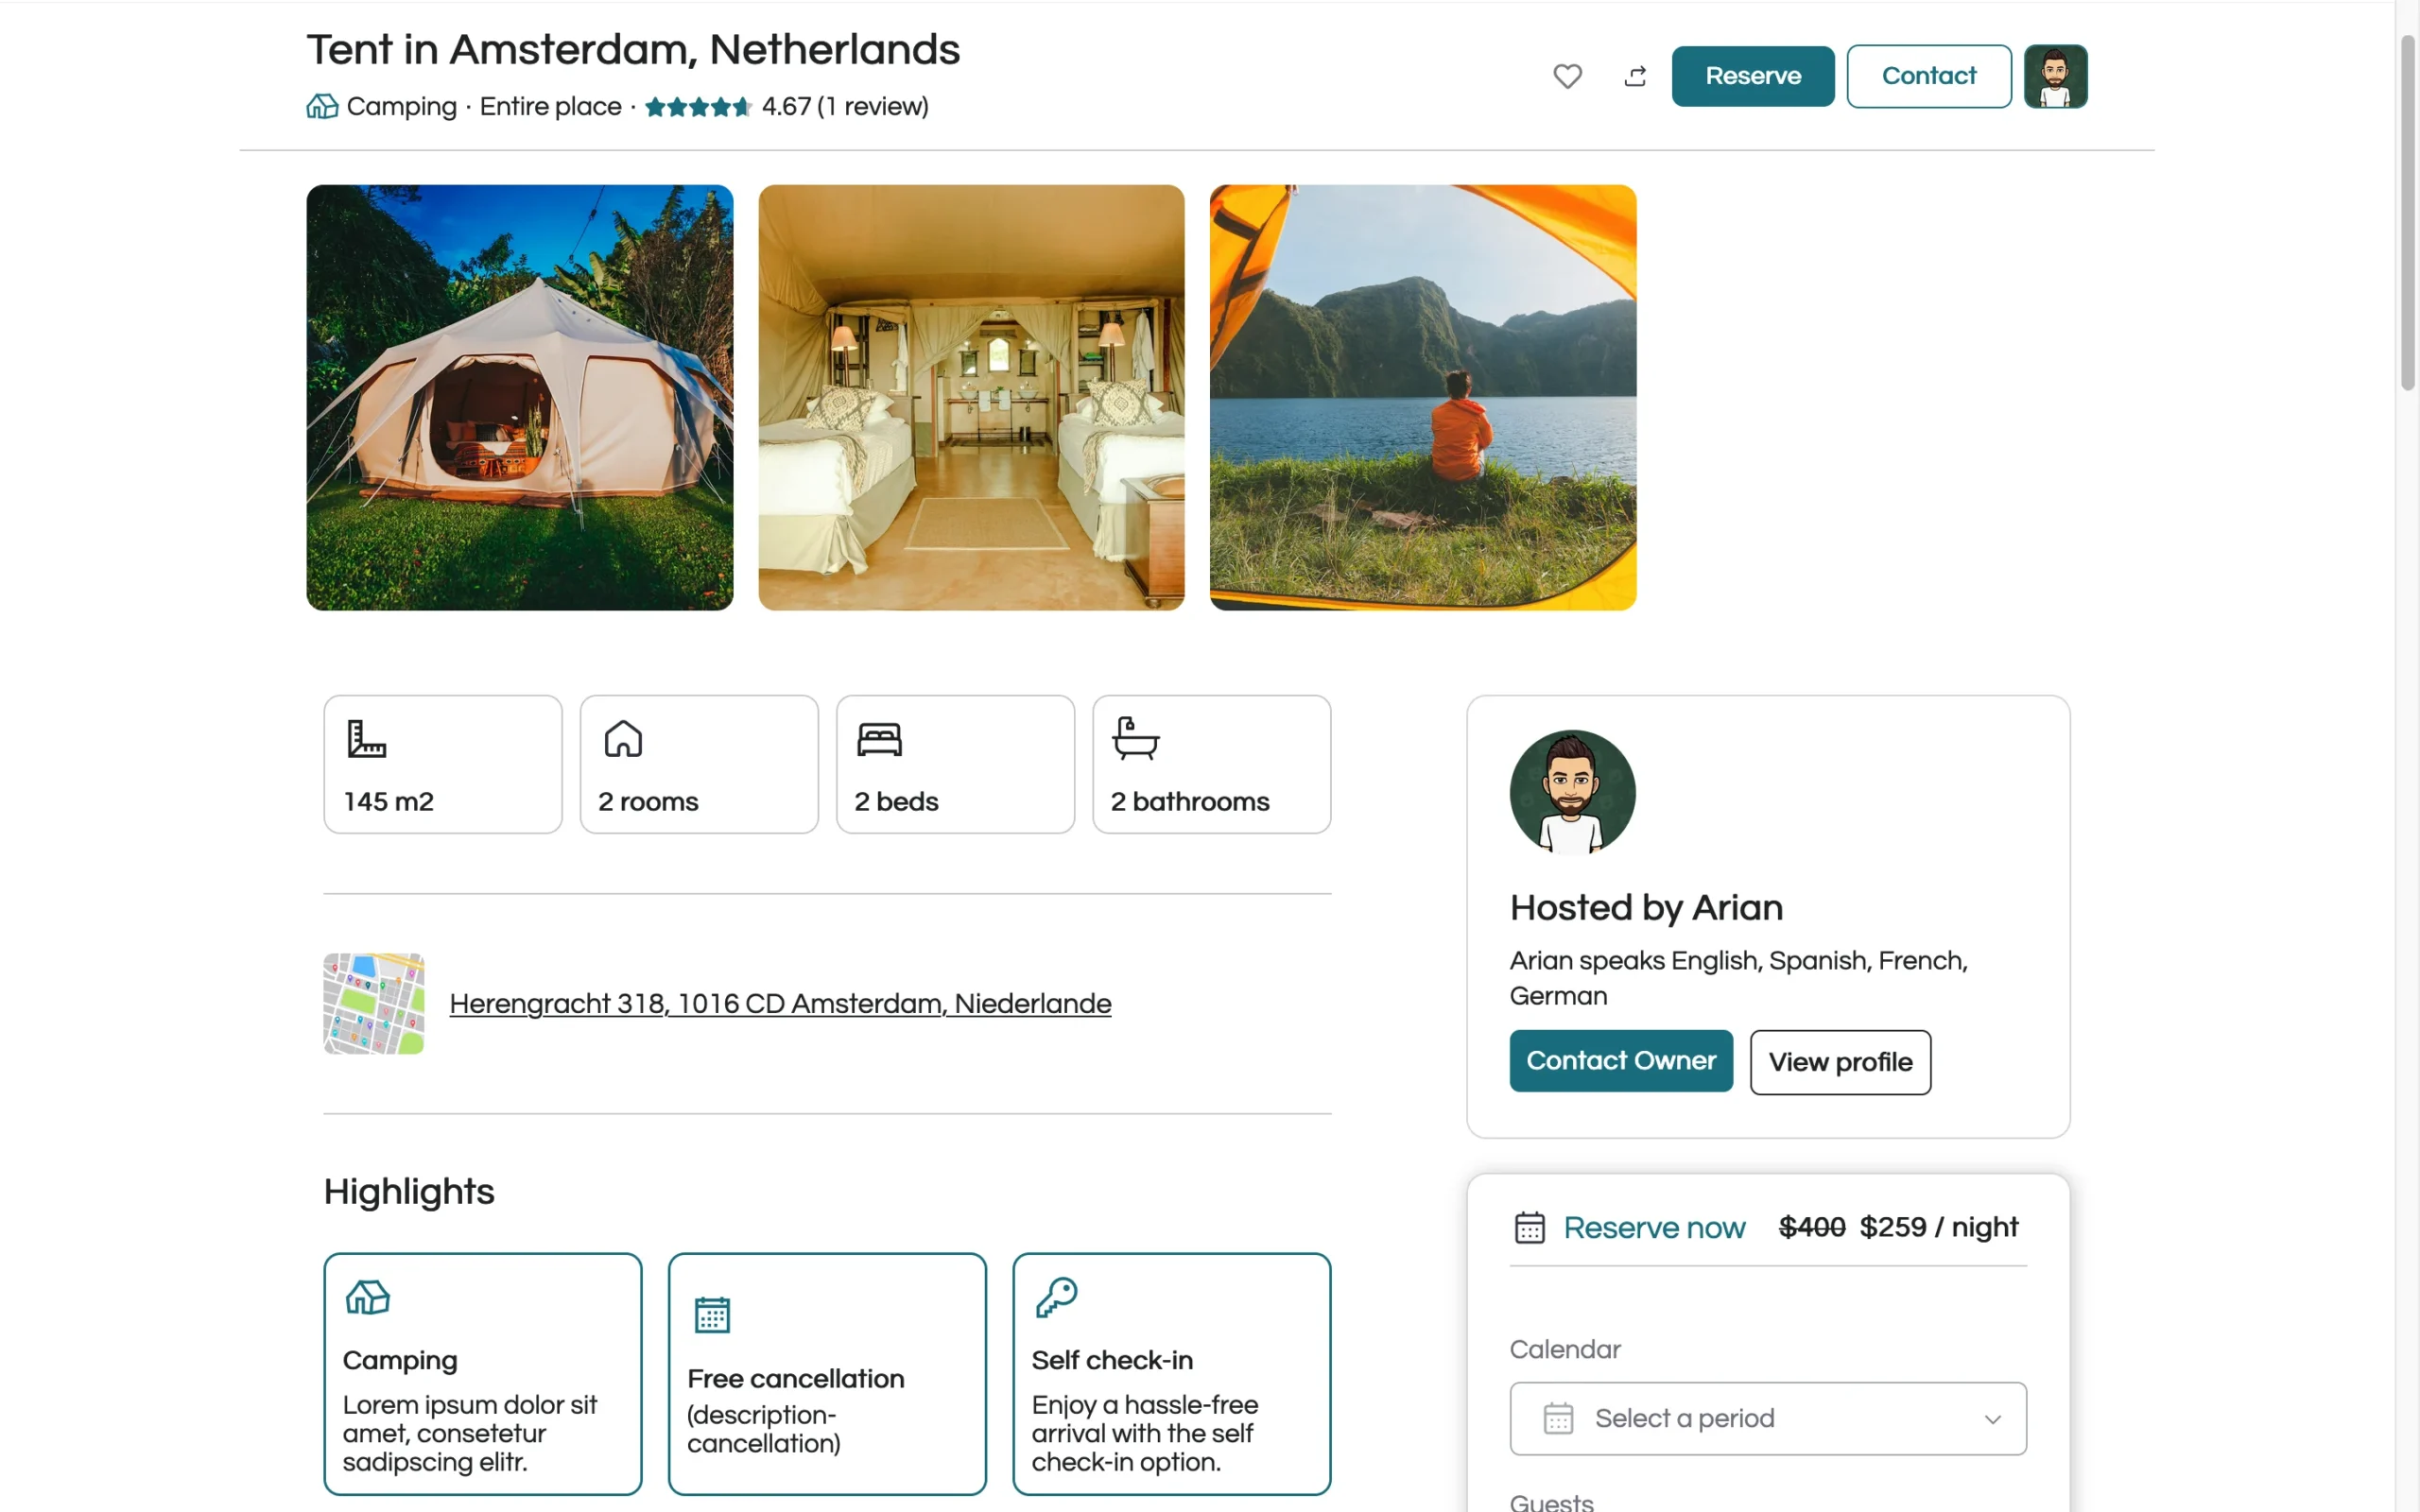
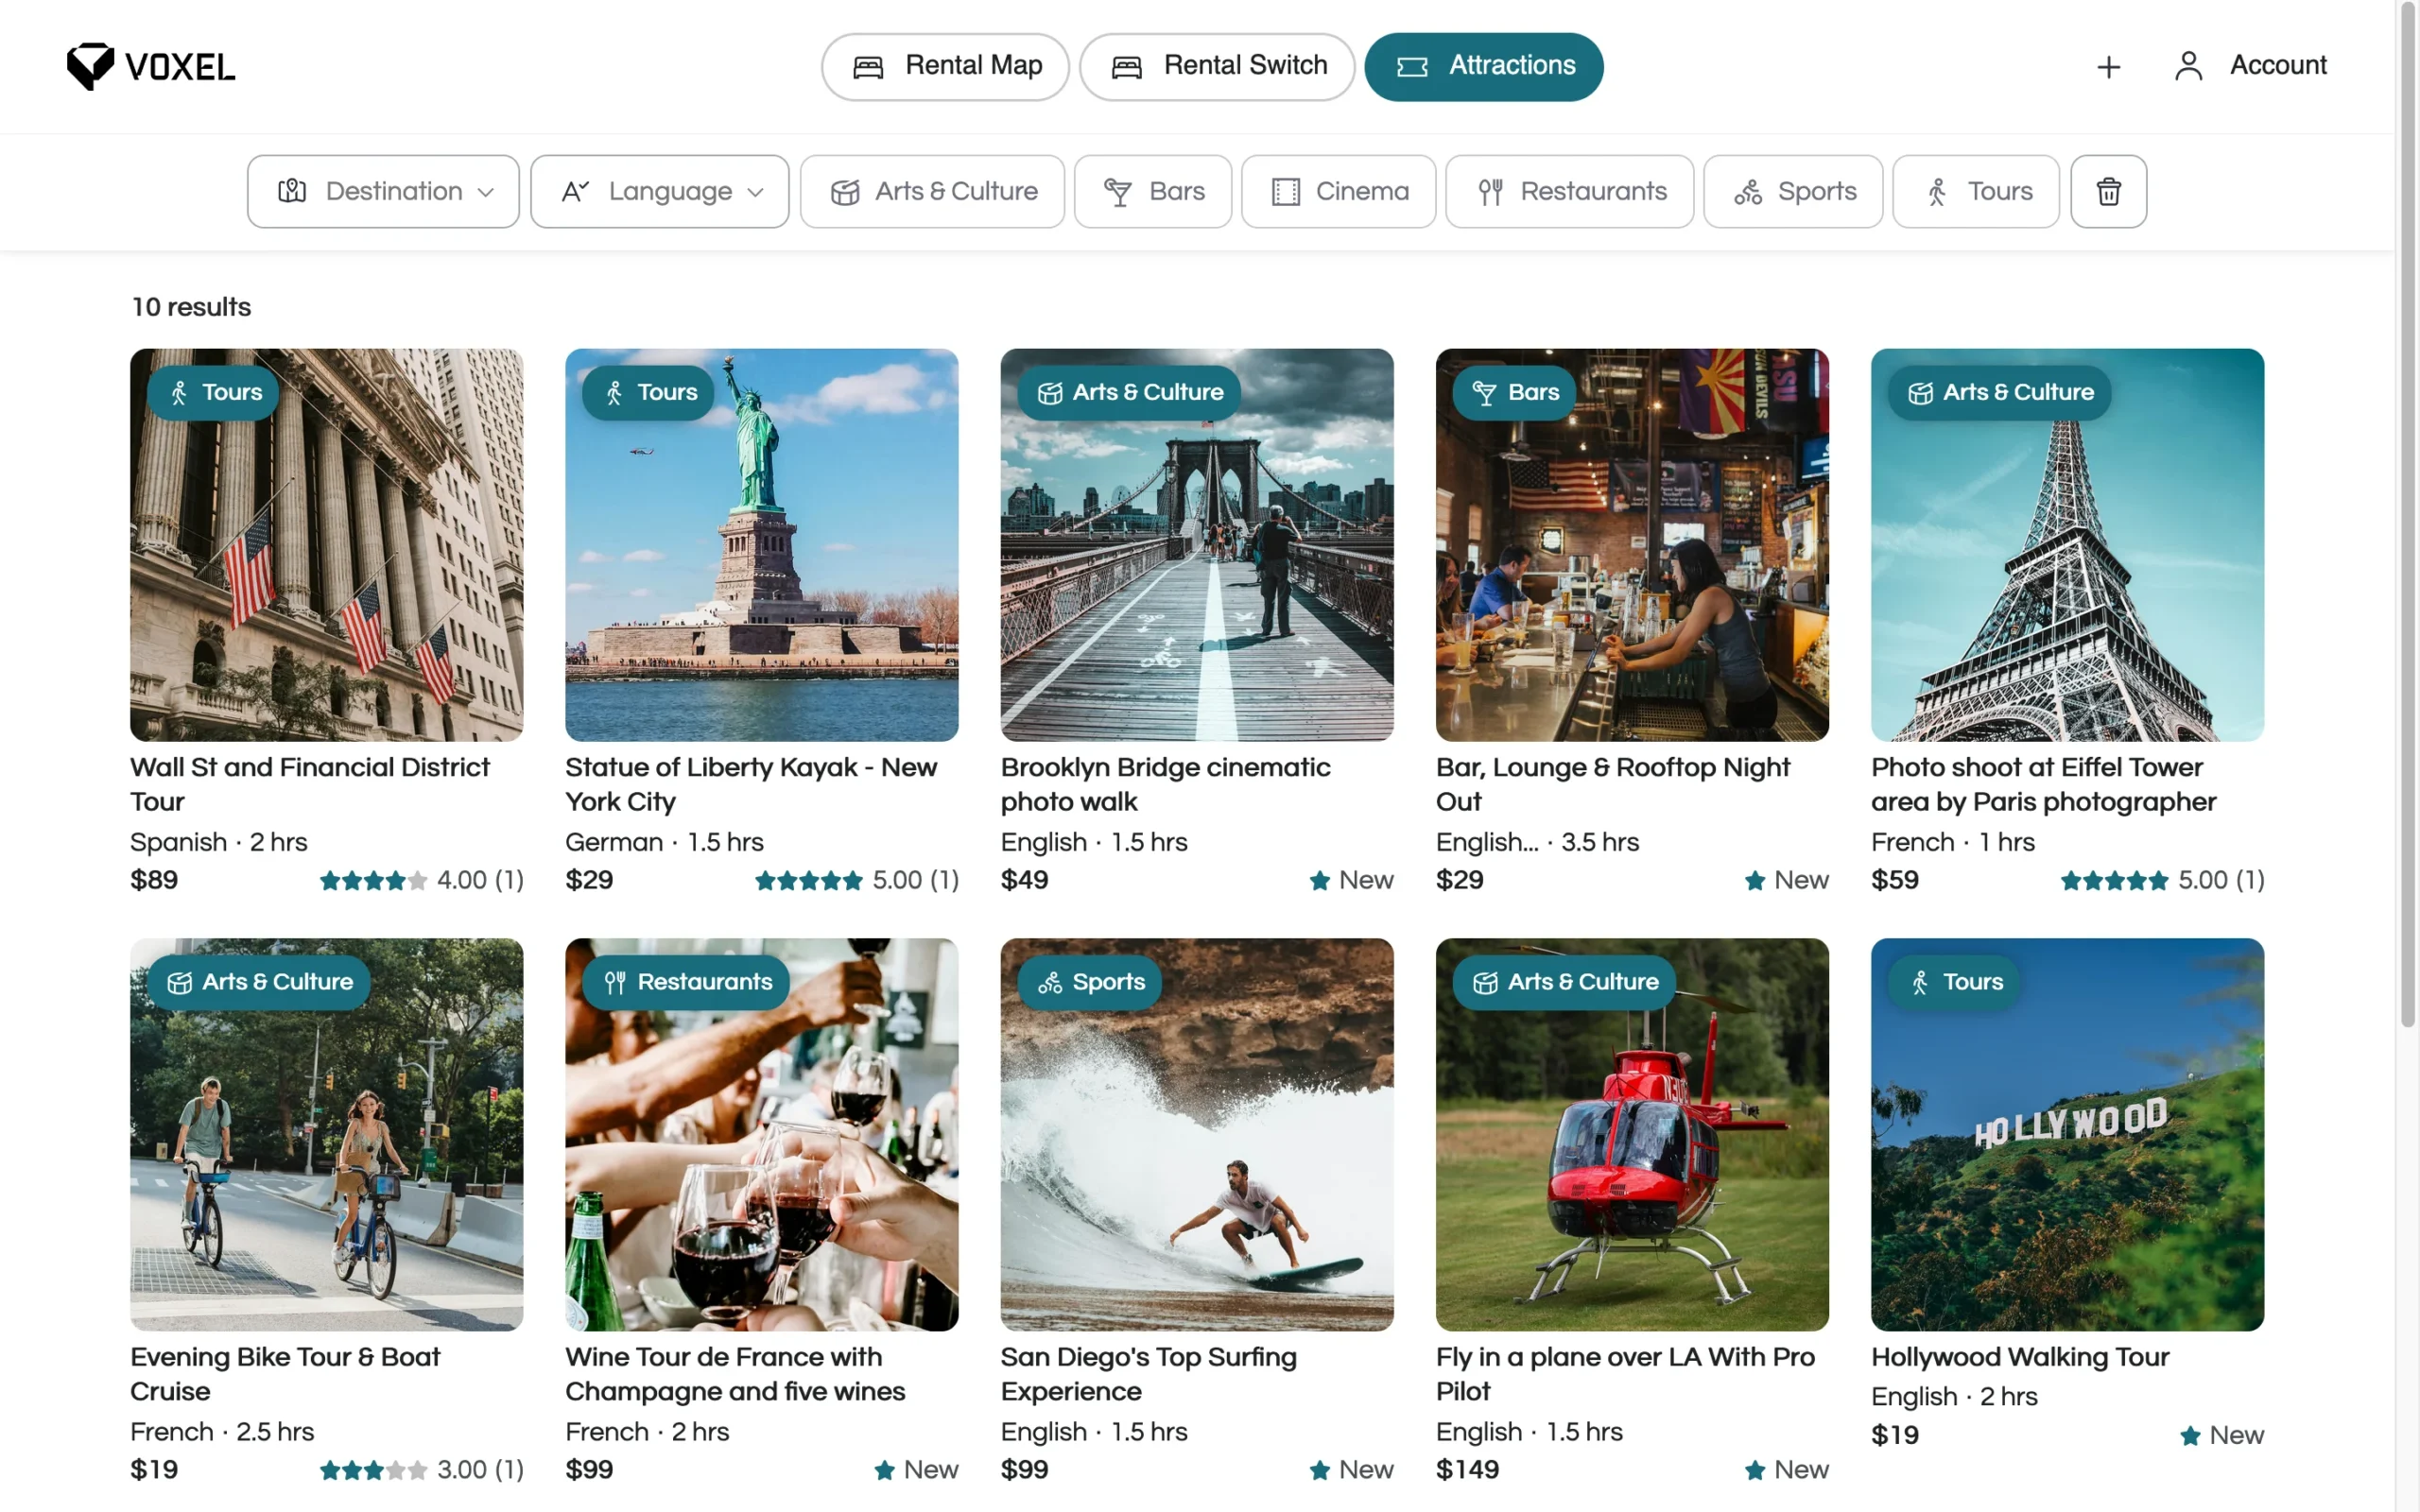
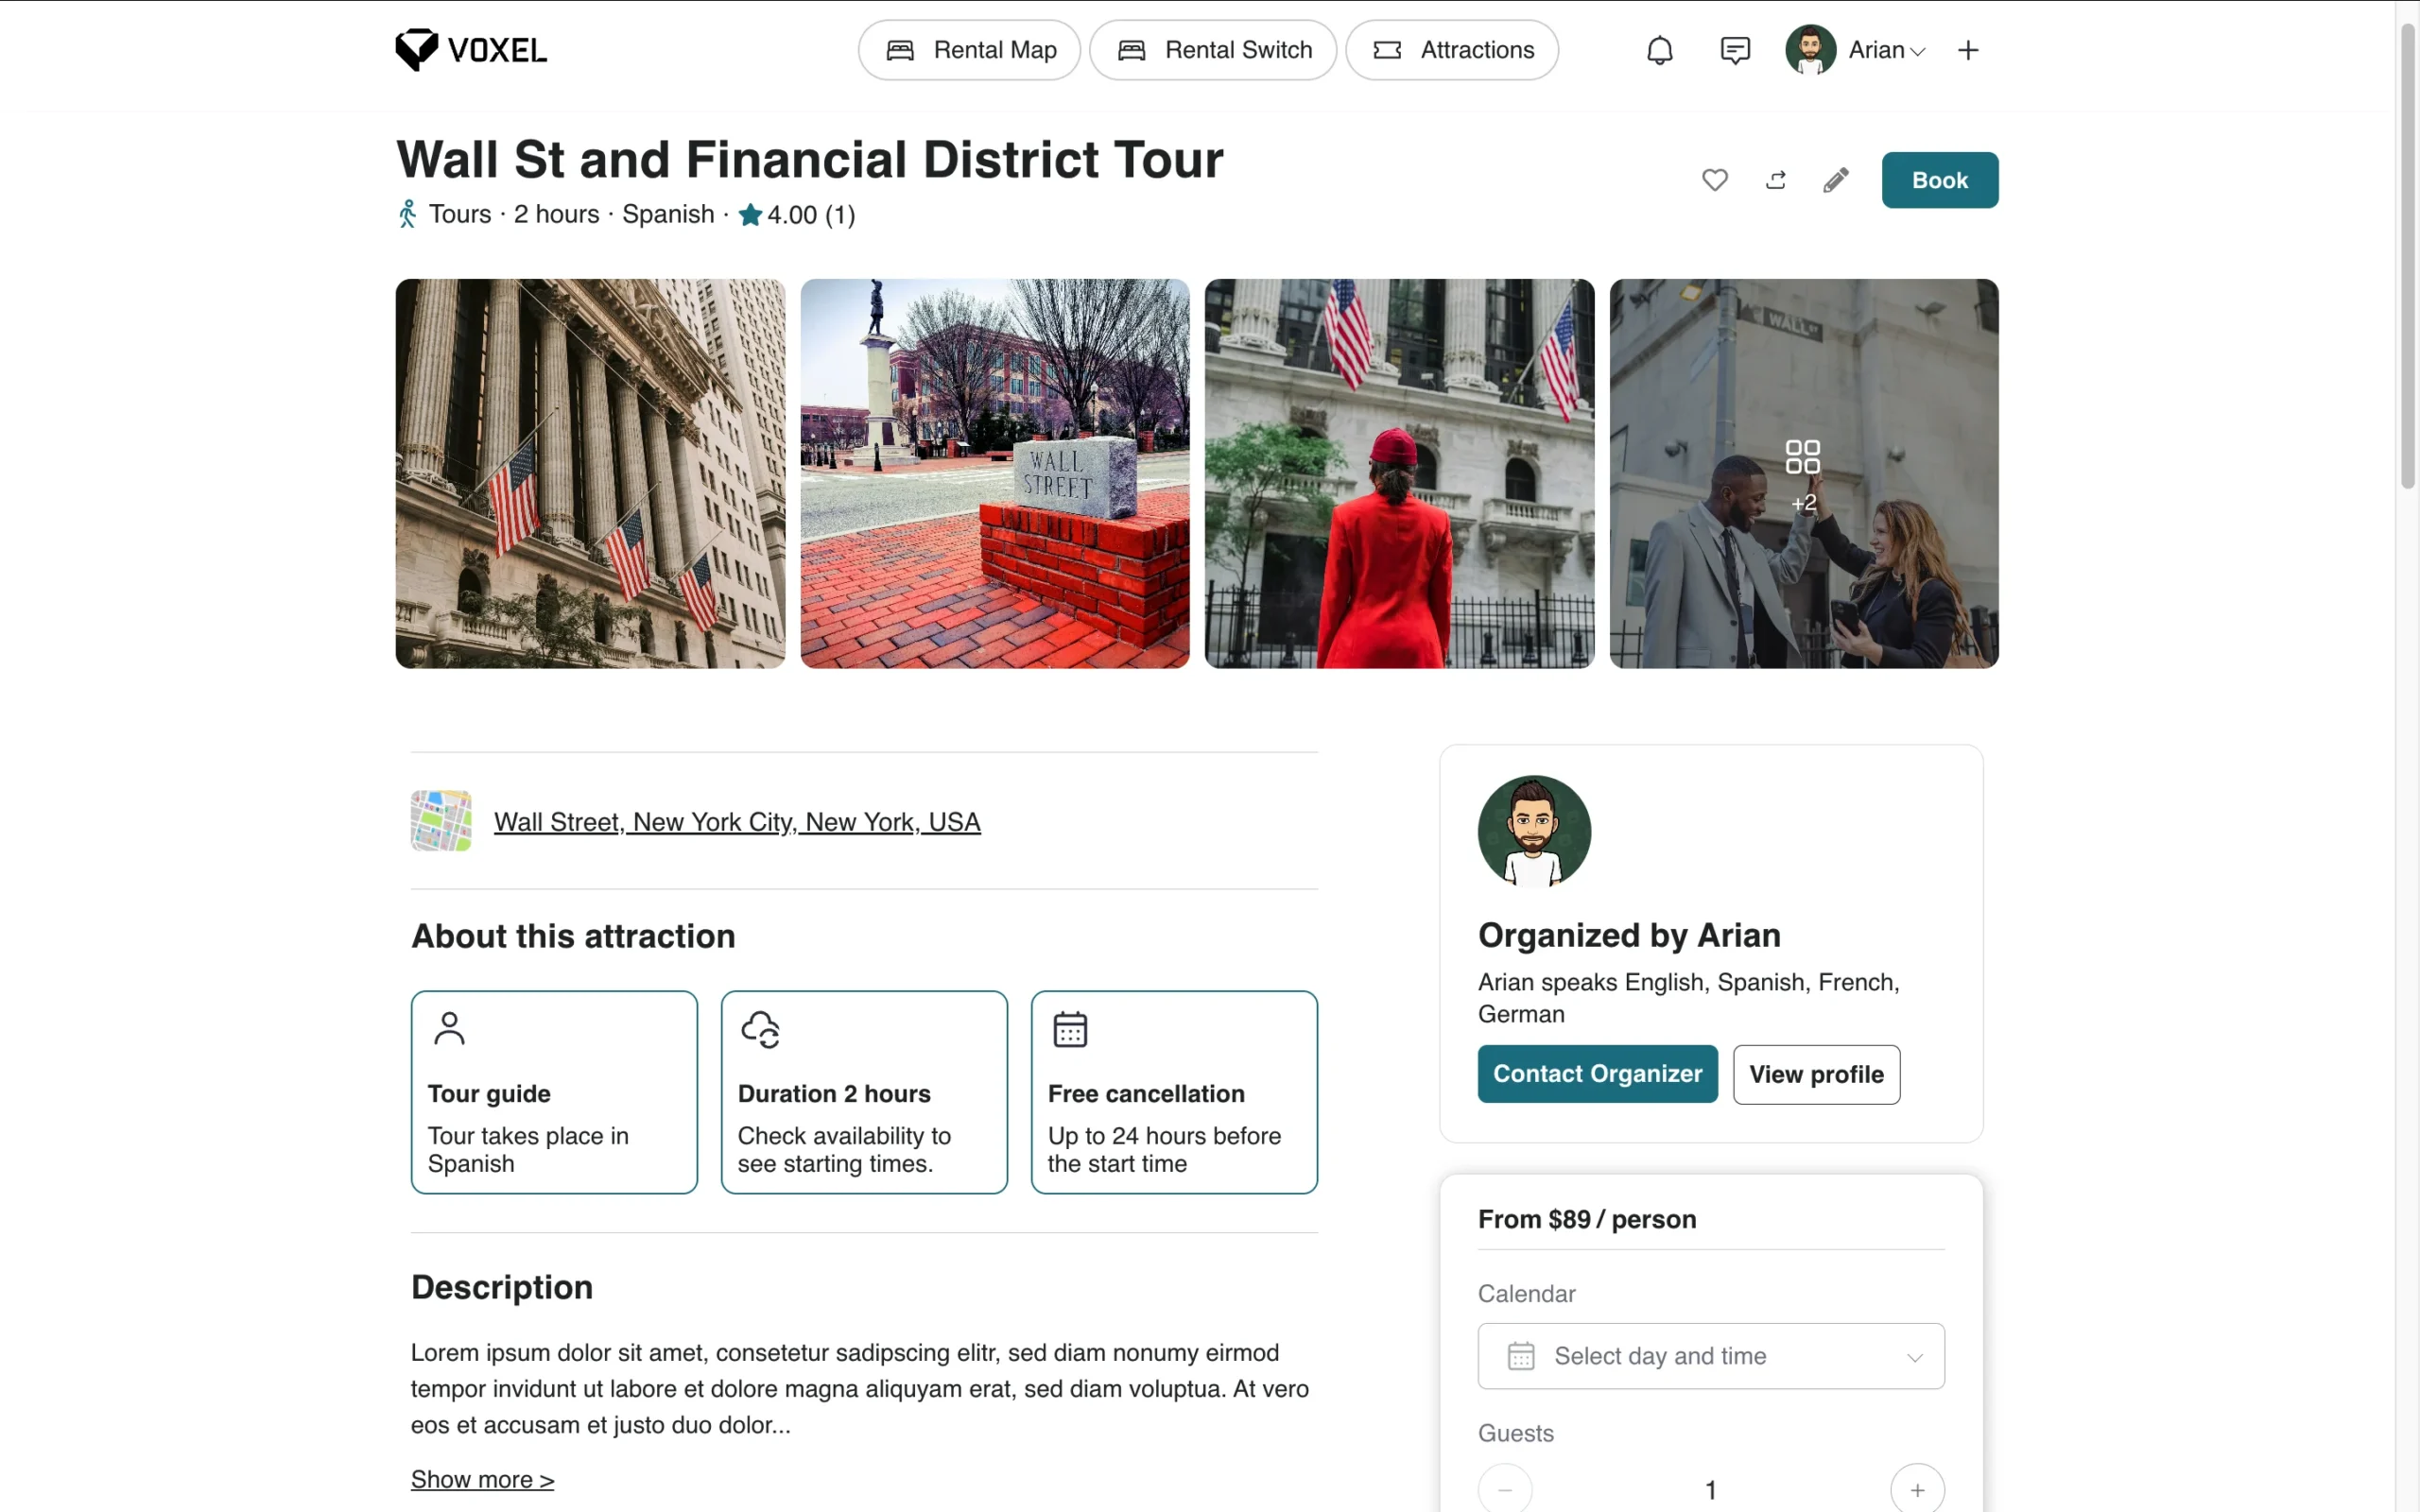
TravelBooking Template


Description
NEW: Additional Installation Service
I handle the installation and basic configuration on your hosting, including the setup of your logo and brand colors. Save time and skip the technical hurdles.
Template Installation: Complete setup of all Voxel JSON files and configurations on your hosting environment.
Branding Integration: Seamless installation of your professional logo to ensure brand consistency.
Custom Color Palette: Precise configuration of your brand colors across the entire template.
Technical Onboarding: Handling of the initial basic configuration so you can skip the technical hurdles.
Voxel Events Plugin
To get the external ticketing plugin use the following deal!
Important Disclaimer
We do not assume any liability for errors, security vulnerabilities, compatibility issues, or any damages resulting from the use of this template. It is highly recommended that you update plugins, themes, and WordPress regularly to maintain security and stability.
Furthermore, we do not assume any liability for potential copyright violations. The usage of this template is at your own risk, and it is your responsibility to ensure that all content complies with copyright laws.
For further customization or troubleshooting, refer to the official WordPress documentation or contact a professional developer.
Happy Building!
Changelog
Big Deal 👉 25% OFF NOW
NEW: Installation Service
We do handle the installation and basic configuration on your hosting, including the setup of your logo and brand colors. Save time and skip the technical hurdles.
- 25% Off Now
-
{{ item.label }}
{{ item.value ? item.value : currencyFormat( item.amount ) }}
-
Subtotal
{{ currencyFormat( pricing_summary.total_amount ) }}
- Version: 1.0.8
- Release Date: 24.04.2025
Note: Periodic updates may be provided, however, ongoing support or updates are not guaranteed.
Voxel Events Plugin
To get the external ticketing plugin use the following deal!
Need help?
Our team is happy to assist you.
1. Unzip the file you have downloaded
2. Login to your WordPress admin dashboard.
3. Navigate to Plugins > Add New.
4. Select the downloaded plugin from your zip-file from step 1: “00_all-in-one-wp-migration-100GB.zip”
5. Click Install Now, then Activate the plugin
6. Go to All-in-One WP Migration > “Import” in your dashboard.
-> Ensure your upload limit is set > 256MB
7. Click Import From > File, and select the .wpress file from the unzipped folder.
8. Upload the file and wait for the process to complete.
9. Follow any on-screen prompts to finalize the import.
10. Log In with Default User Credentials
11. Create Your Own Admin User: Go to Users > Add New
12. Create a new Administrator account with your own credentials
13. Log out and sign in using your new account.
14. Change the admin user and admin mail
Optional: Enable external ticketing features with the “Voxel Events” add-on.
1. Go to Plugin Website: https://codewattz.com/voxel-events/?ref=6
2. Buy and download plugin
3. WP Dashboard > Navigate to Plugins > Add New.
4. Select “Voxel Events” Plugins
5. Click Install Now, then Activate the plugin
6. WP Dashboard > Event Tickets > License > Paste your license and activate
Currently available with 50% off:
https://codewattz.com/voxel-events/?ref=6
Using this link supports our work at no additional cost to you — we truly appreciate it.
Optional: Add a Google Maps API Key (if required)
1. Go to Google Cloud Console.
2. Create a new project or select an existing one.
3. Navigate to APIs & Services > Credentials.
4. Click Create Credentials > API Key.
5. Copy the generated key.
6. In WordPress: Go to Dashboard > Voxel > Settings > Map Providers.
7. Paste the key into the Google Maps API field.
8. Click Save and test your map.
You’re All Set!
Your WordPress template is now fully installed and ready to go.
Customize it as you like and enjoy your new website!